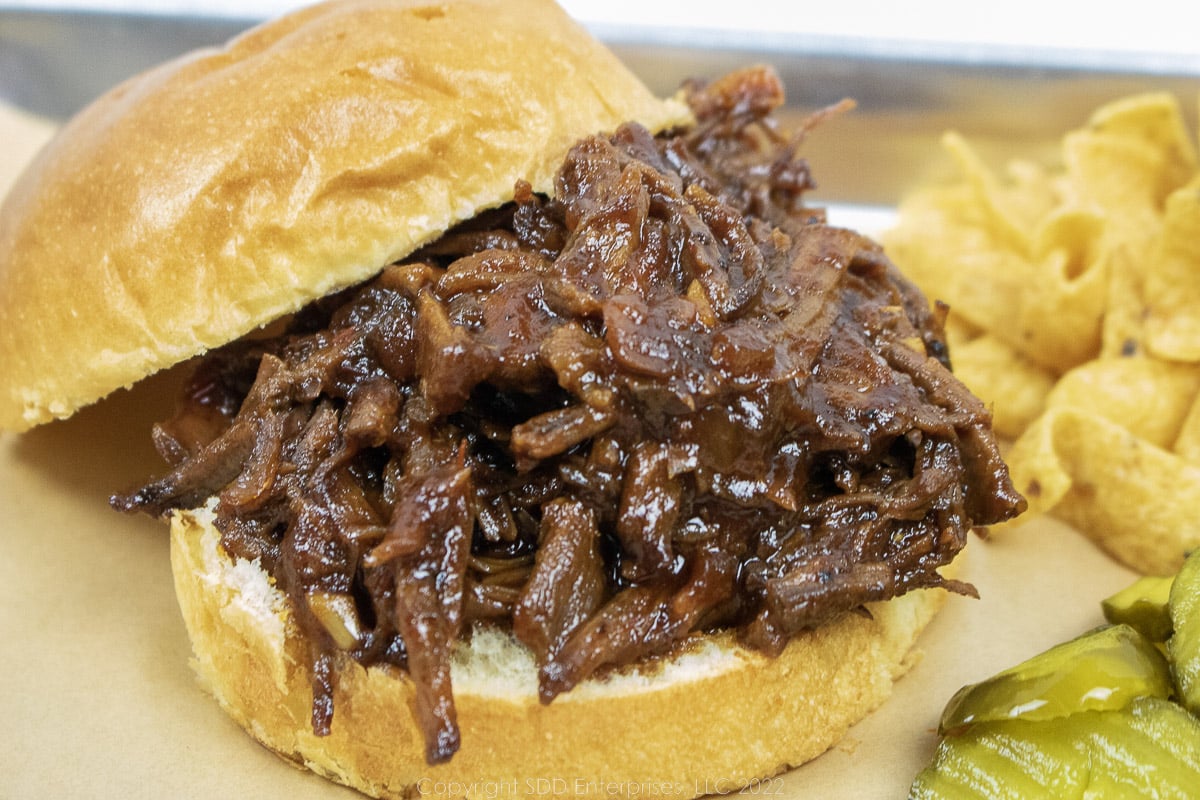
These delicious Pulled Beef Sandwiches start by braising a chuck roast in beer until it is easily shreddable, then drowning it in a tangy homemade BBQ sauce. The sauce is simple. Six basic ingredients plus some seasoning. The beef falls apart and melts in your mouth. Served on rolls, sliders, or even as a Po-Boy, these shredded beef sandwiches are guaranteed to be a hit.
If you want to just skip to the recipe, click the "Jump To Recipe" button above or the Recipe link below and you’ll go right there without having to scroll through my article.
This post is not sponsored, but you will find affiliate links on this page. As an Amazon Associate, I earn from qualifying purchases. The price you pay as a consumer does not change, but I may make a small commission based on your purchase.
Jump to:
Comfort Food
How do I know Sweet Daddy D's Pulled Beef Sandwiches will be popular with the family? Because it was popular with my family. The Mother Unit adopted it from a neighbor and it became an instant hit growing up. I’ve made some adjustments and tweaks along the way, but the end result is always that warm feeling that comfort food gives us. The tangy BBQ sauce and tender, moist beef never fail to give me that familiar feeling. This BBQ beef sandwich recipe is simple, no-angst, and versatile and will no doubt become a family classic at your house.
Here's What You Need
Here are some of the key ingredients for this recipe:
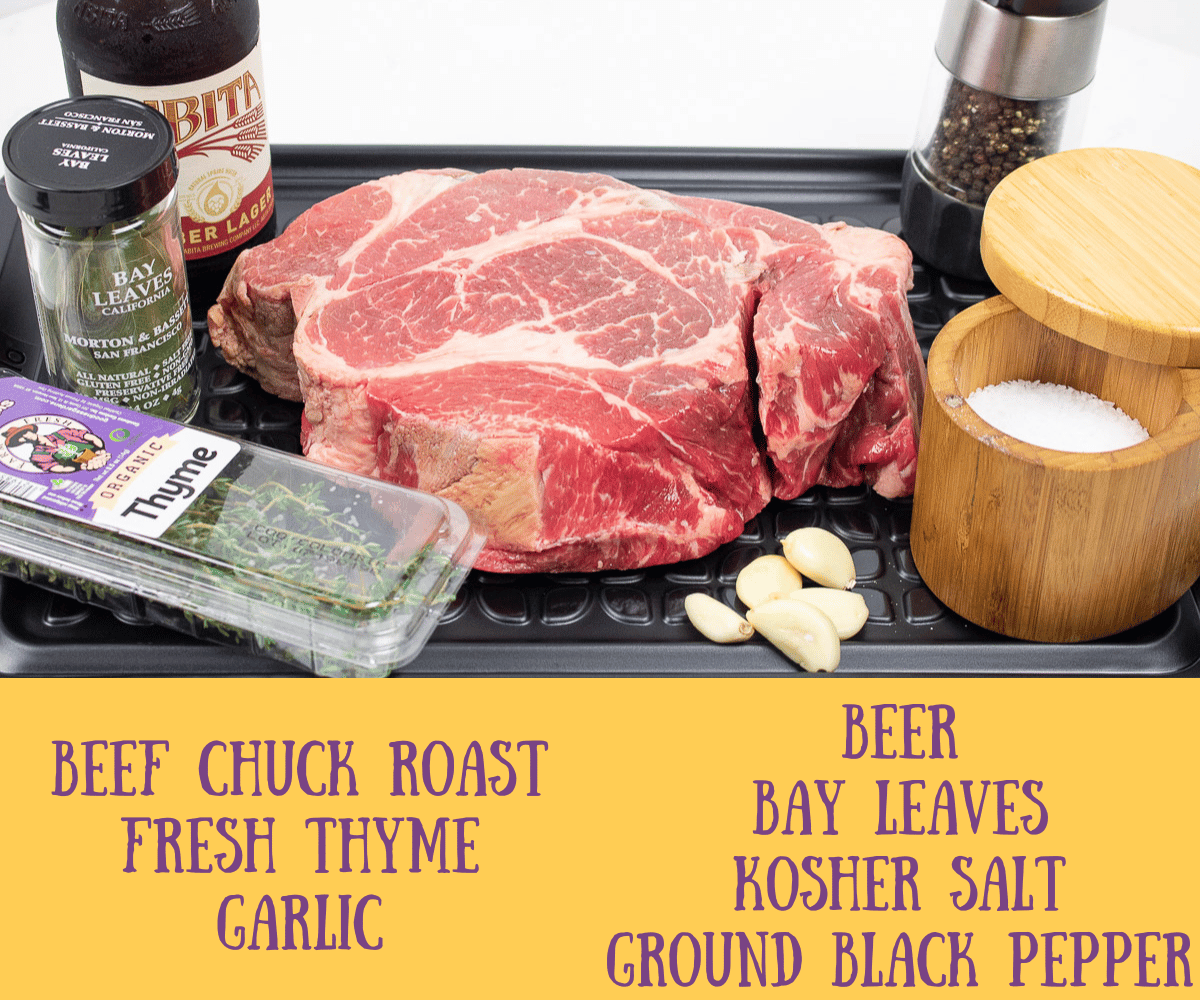
Check out the FAQs below for more on the Beef Chuck Roast and substitutes.
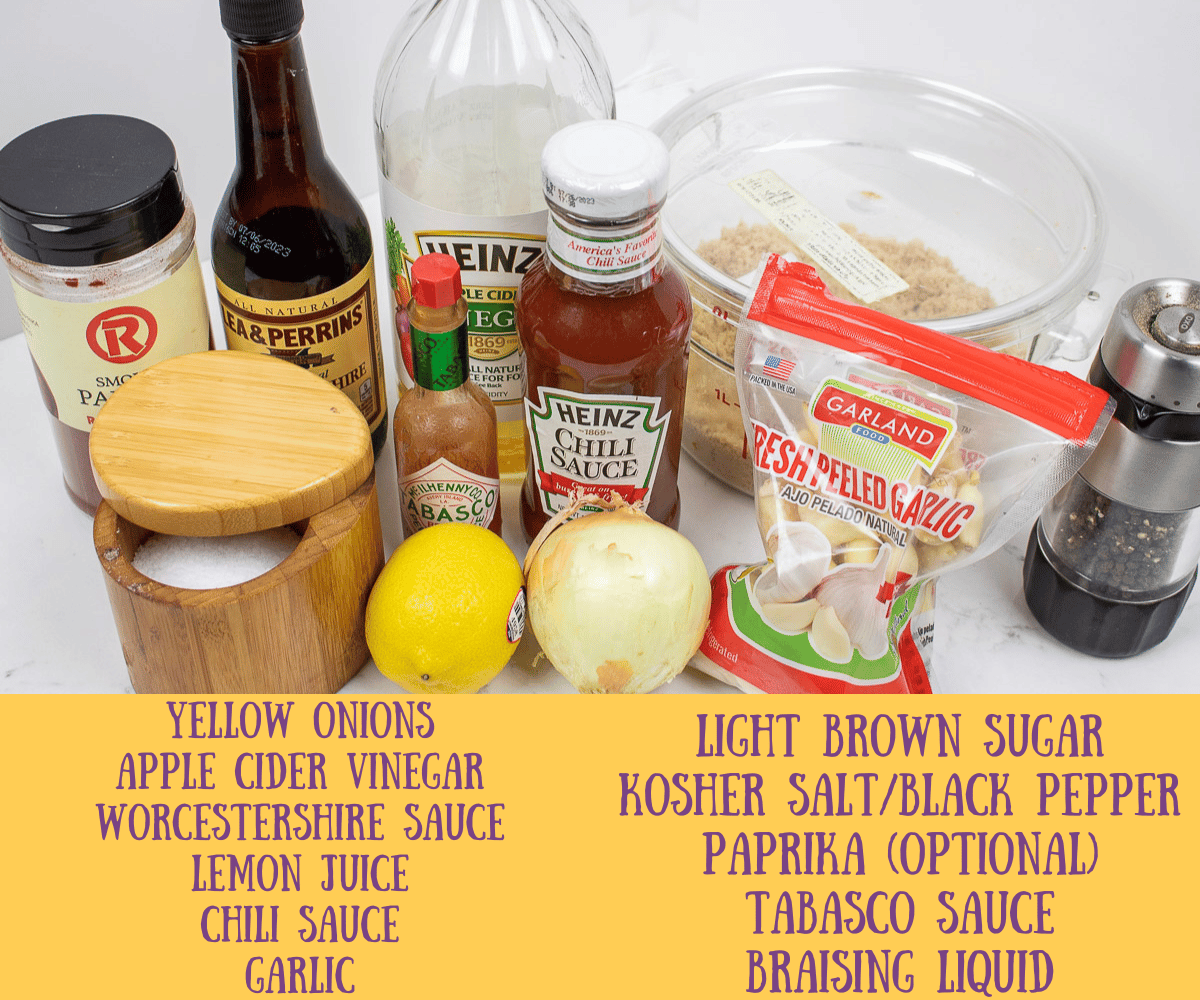
Note on the Paprika: The paprika is an optional ingredient. Plain paprika won't add much to the flavor but it will fortify the nice color. Smoked Paprika (which is what I usually use) will add a nice smoky undertone to the flavor profile and if you don't go wild with it, is very nice. I also include Cayenne Pepper in this category. Cayenne will certainly increase the heat level, but it is a natural companion for beer-braised beef.
Note on Chili Sauce: Chili Sauce is a condiment very similar to ketchup, but a bit tangier and spicier. It definitely adds a subtle tanginess that most ketchup brands don't have. As far as spiciness goes it's nothing to worry about if you don't like things too spicy. I guess it meets most technical definitions of spicy, but it really doesn't provide any heat to speak of.
Can't find Heinz Chili Sauce? Jump over to Amazon and have some delivered right to your door!
Equipment
Here is some of the equipment I used to prepare this recipe:
This post is not sponsored, but you will find affiliate links on this page. As an Amazon Associate, I earn from qualifying purchases. The price you pay as a consumer does not change, but I may make a small commission based on your purchase.
Here’s What You Do
First…you have a beer. It won't be hard to start this recipe with a beer. Just make sure you have enough! Even this simple recipe will be easier and quicker if you prepare yourself and prepare the ingredients before you start cooking. Pop the cap off a beer and sit down and read the recipe all the way through. Learn what ingredients and equipment you will need, and learn how they need to be prepared. Once you know that, perform your mise en place and you are well on the way. Cheers!
Mise En Place
For the Beef
- Trim the excess fat from the Chuck Roast. (See the Note below about trimming).
- Sprinkle the beef with kosher salt and ground black pepper. Set aside while you prepare the other ingredients.
- Gather the fresh thyme, and bay leaves.
- Smash the garlic.
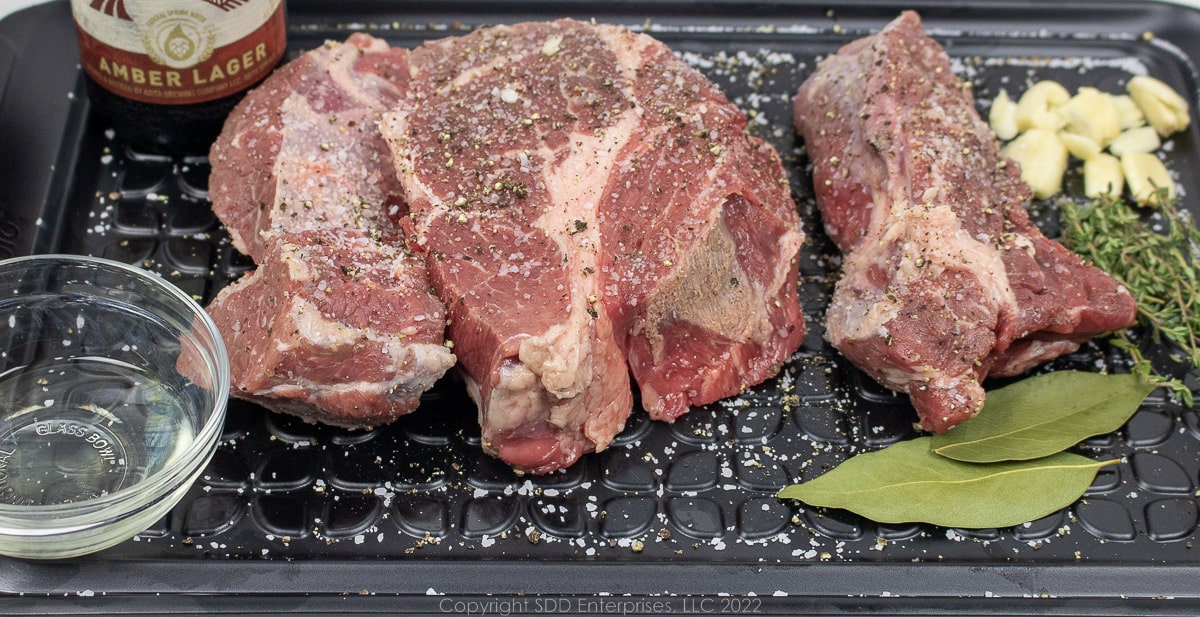
Note on trimming the beef: You don’t have to be a butcher to do this. With a sharp knife, remove most of the hard fat and any loose hanging fat. A Chuck Roast is sectionalized making it easy to separate into smaller pieces. Don't cut the roast into smaller pieces like a stew, but separate it into its natural segments as well as you can. It does not have to be perfect, but this will make it easier to trim some of the internal fat while breaking the beef down into good sizes for searing.
For the Sauce
- Finely chop the onions and garlic.
- Measure the dry ingredients: Kosher salt, black pepper, brown sugar, and paprika (if using).
- Measure the wet ingredients: Worcestershire sauce, lemon juice, and Chili Sauce.
- Have the tabasco sauce handy and don't forget to capture 1 cup of the braising liquid when the beef has finished braising.
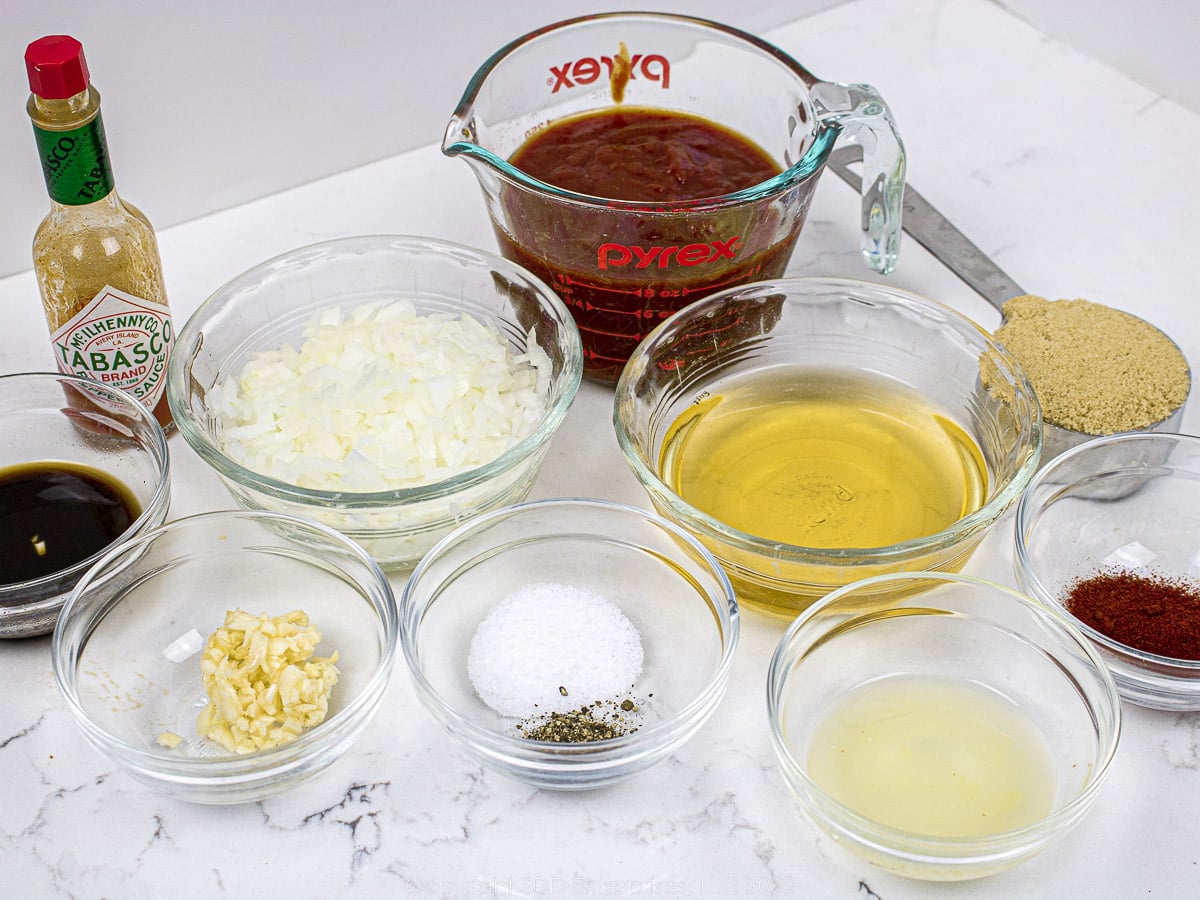
Braise the Beef
What happens in this step? We start building the flavor of the final dish with this very first step. Searing the beef enhances the beef flavor. Braising the seared beef locks in the intense flavor of the beer and seasonings. The end result is a flavorful beef roast that's fall-apart tender.
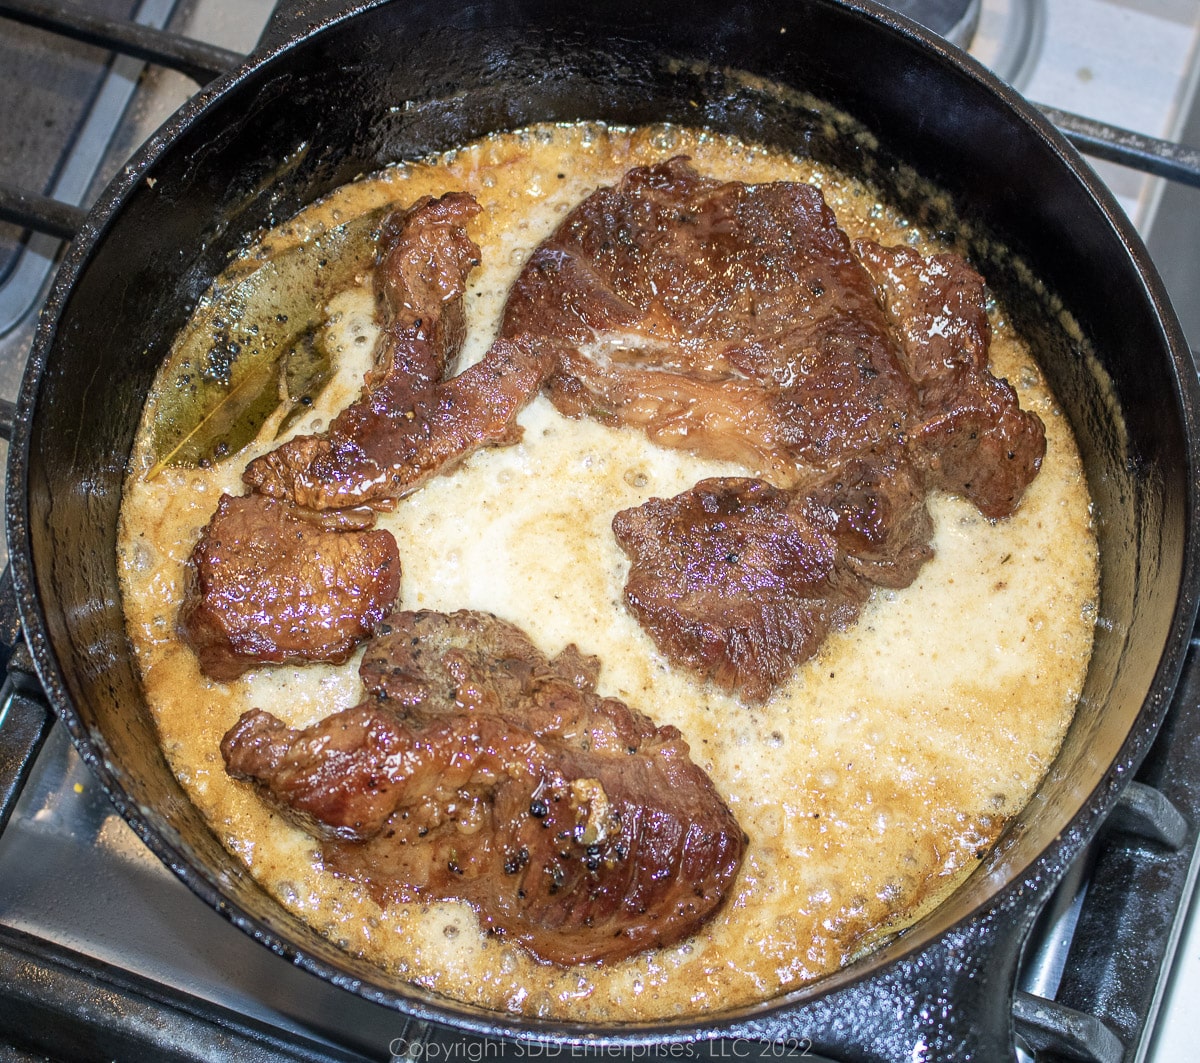
In a cast iron Dutch oven, heat about 1 tablespoon of vegetable oil over medium-high to high heat. When the oil is shimmering, add the beef and sear on all sides. This should take about 10 minutes, but don’t rush it.
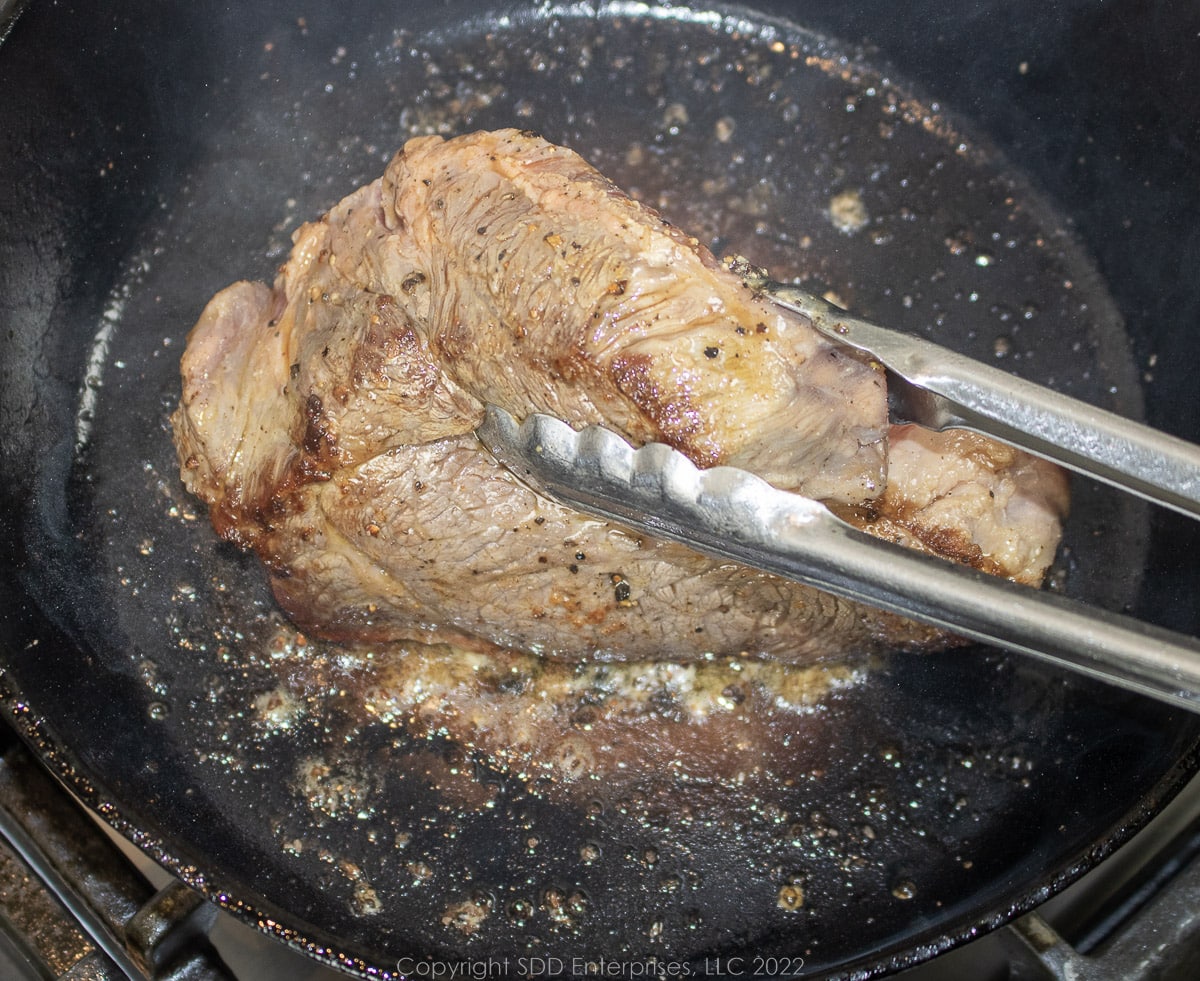
Note on searing the meat: To get consistently good results, I like to build flavor into each step of the cooking. Taking the time to give the beef a good sear pays dividends in the final taste. Searing is the process of exposing the meat surfaces to high temperatures. This caramelizes the natural sugars in the beef and creates a crisp browning on the surface. The result is amplified and enhanced flavors that won't happen without the sear.
Pro Tip: When searing, don’t overcrowd the Dutch oven. Sear the beef in batches if necessary. Overcrowding the pan messes with the temperature causing the meat to steam instead of sear. That's not a good look.
Once the beef is seared on all sides, return it to the Dutch oven and add the fresh thyme, bay leaves, and garlic.
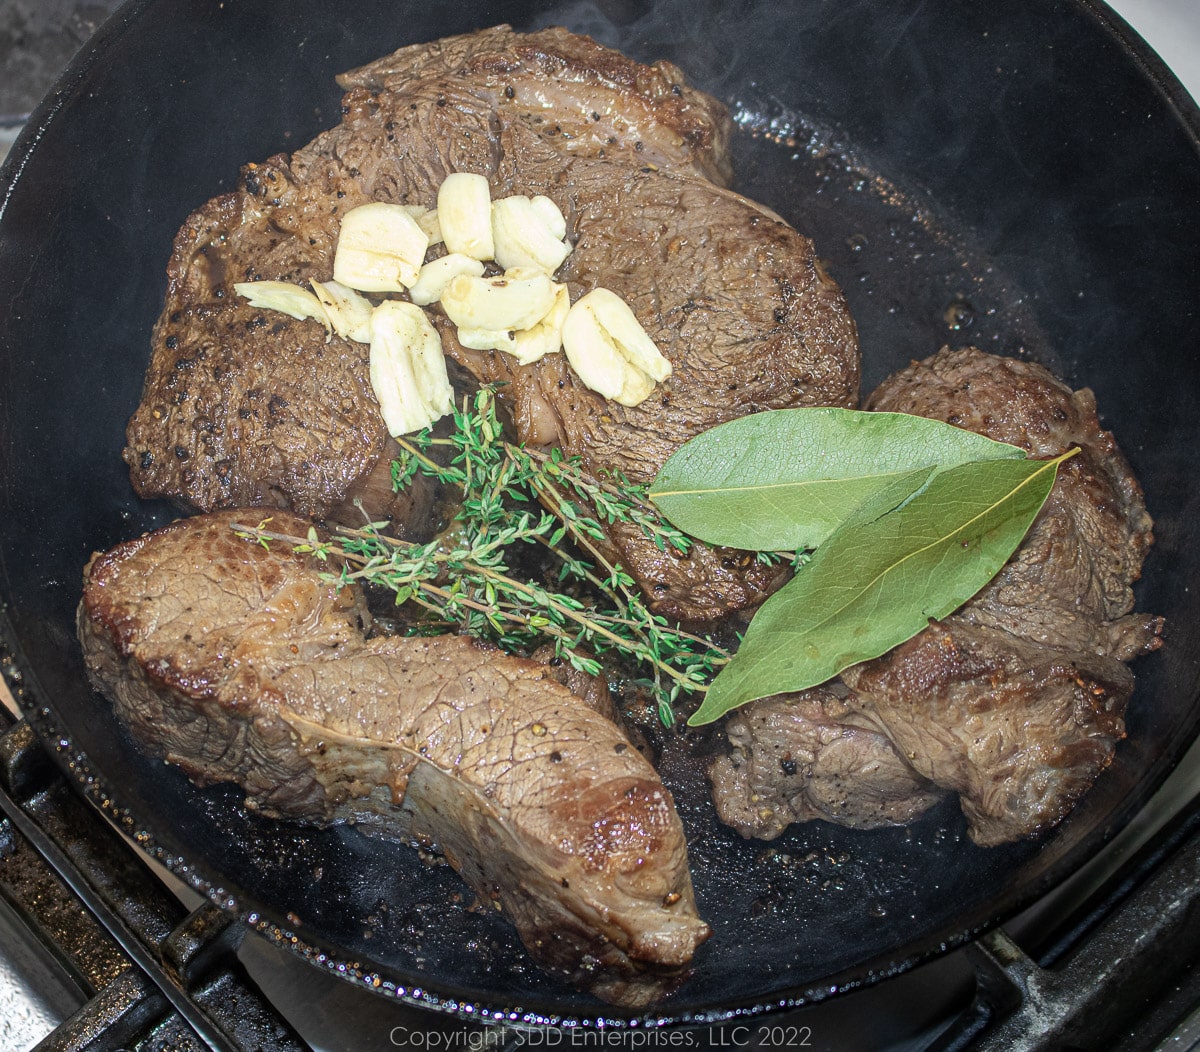
Add enough beer to come just under the top of the beef. Try to maintain about that amount of liquid while it braises, so reserve some beer to add later, if needed.
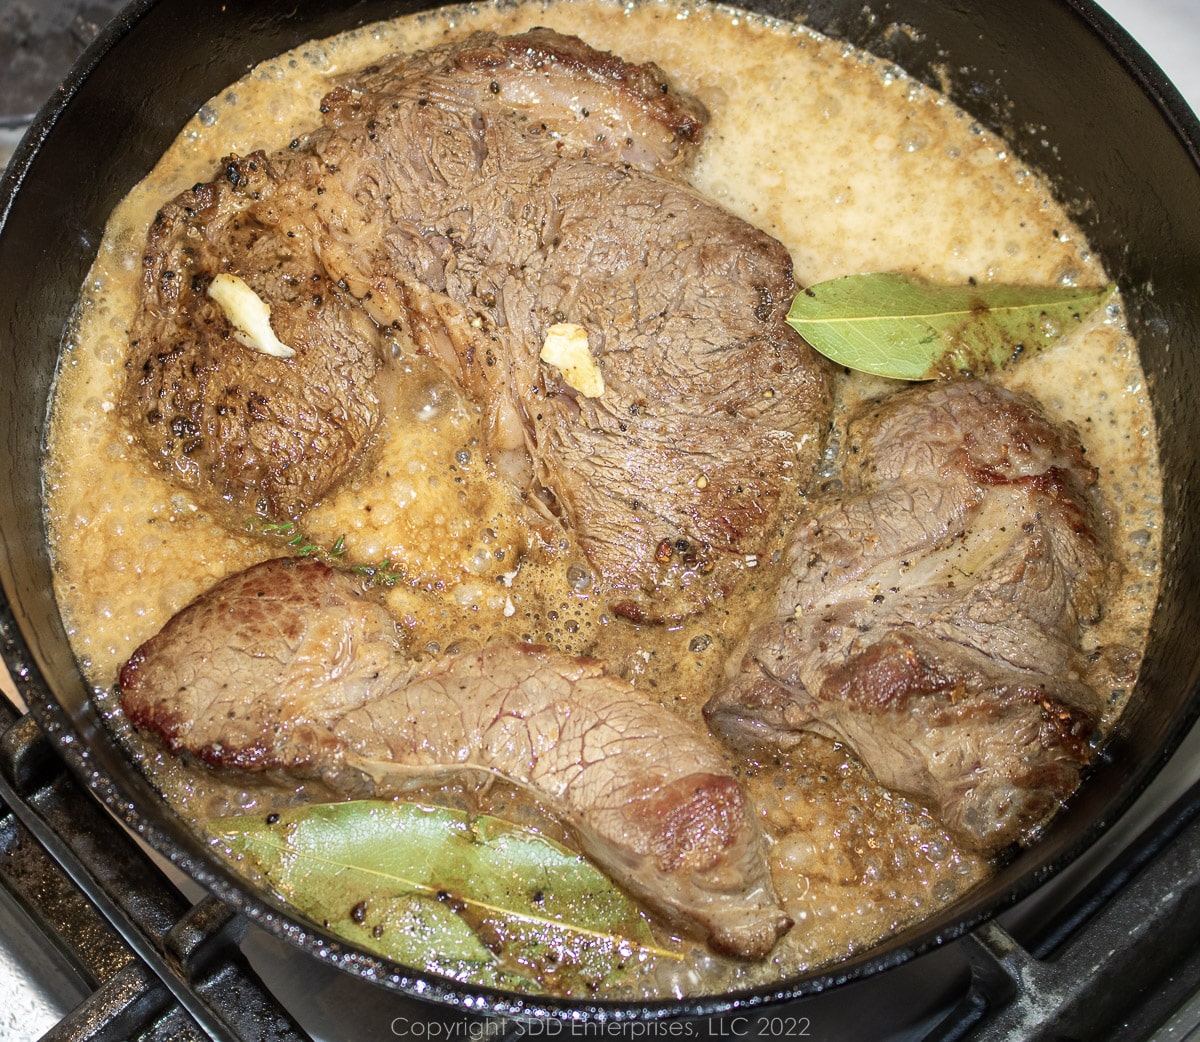
Bring the Dutch oven to a boil, then reduce the heat to a simmer and cover tightly. Check the pot periodically to make sure the beer is not evaporating. If it does, add more. After about 1 ½ hours, begin checking for tenderness by probing with a bamboo skewer. Continue to check until the skewer goes in with no resistance.
Once the beef is extremely tender, remove it from the Dutch oven and set it aside to rest and cool. Don't forget to get a cup of braising liquid to use in the sauce. Check out this Pro Tip.
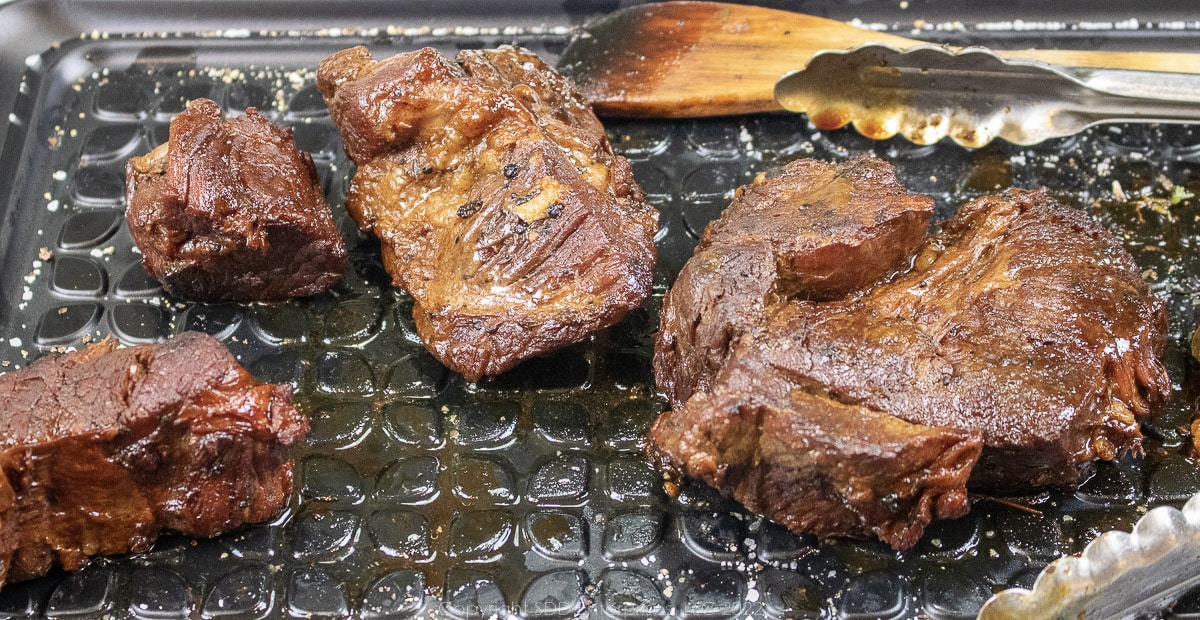
Pro Tip: After braising the beef, I recommend pouring the braising liquid through a strainer to catch any small pieces of garlic and thyme stems that may be there. If there isn’t enough cooking liquid to make a cup, add water until you have a cup.
Make the Sauce
What Happens in this step? Here we create a tangy sauce for the beef. A short simmer thickens the sauce so that it will hug all the shredded pieces of beef roast.
Add all of the Sauce ingredients to a Dutch oven set over medium-high heat.
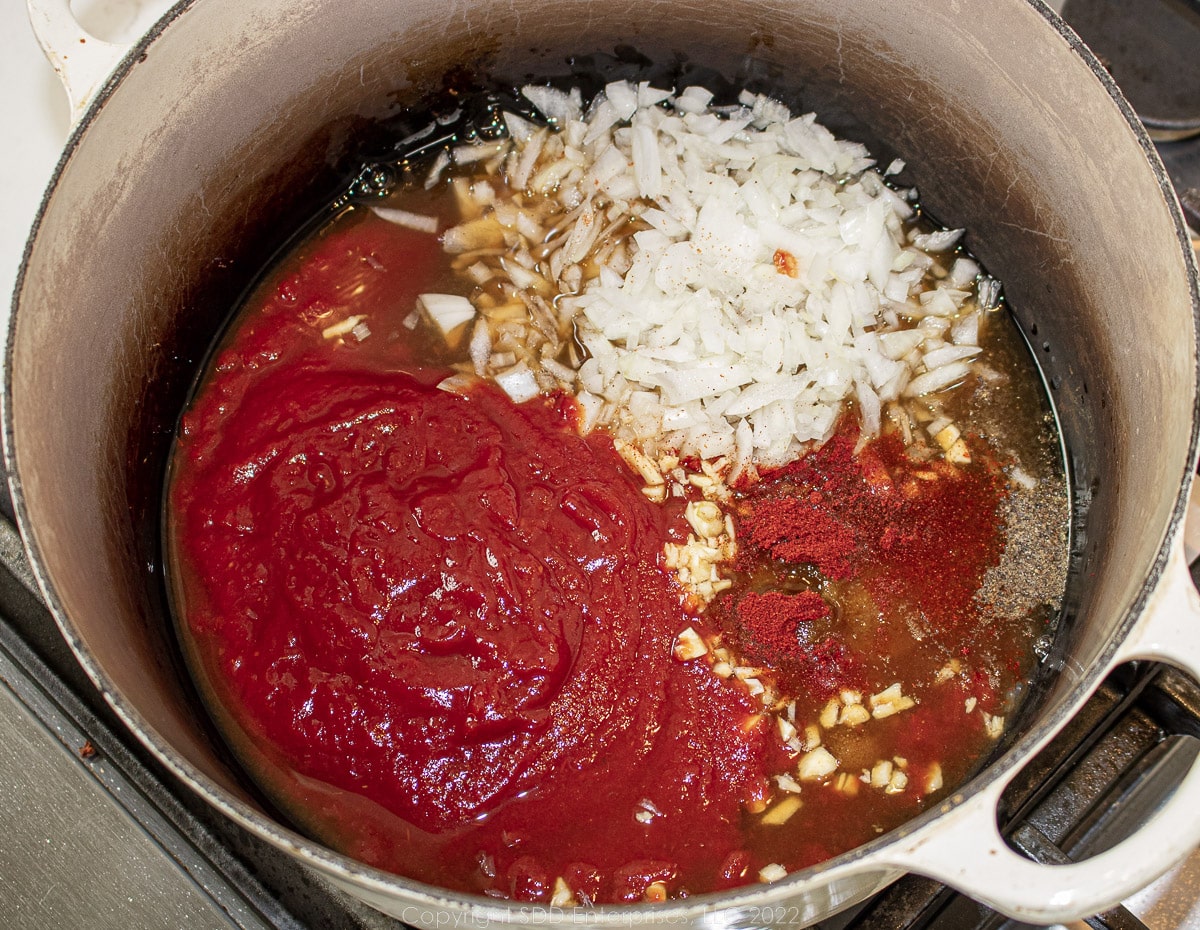
Bring the sauce just to a boil, then reduce the heat to a simmer.
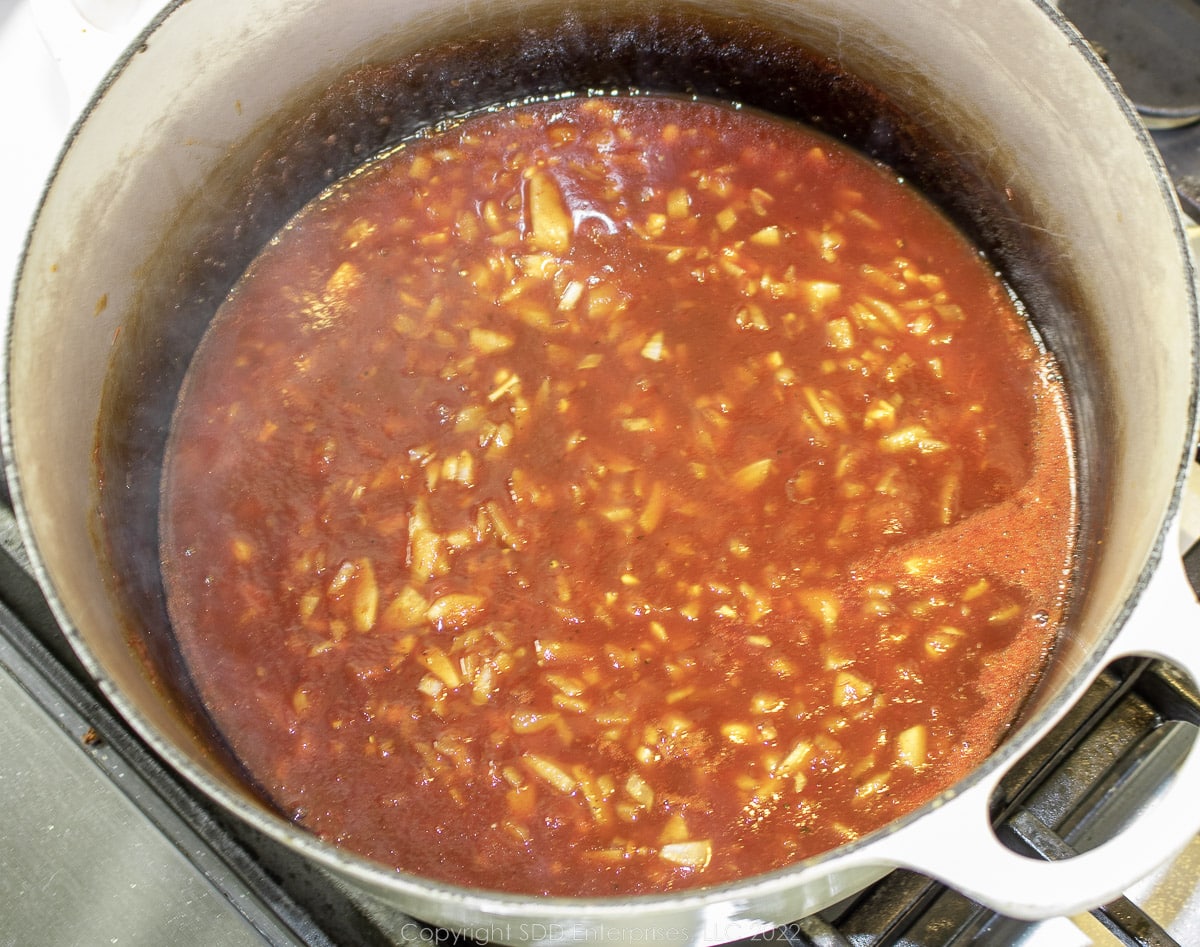
Continue to simmer for about 30 minutes, stirring regularly, while the sauce thickens.
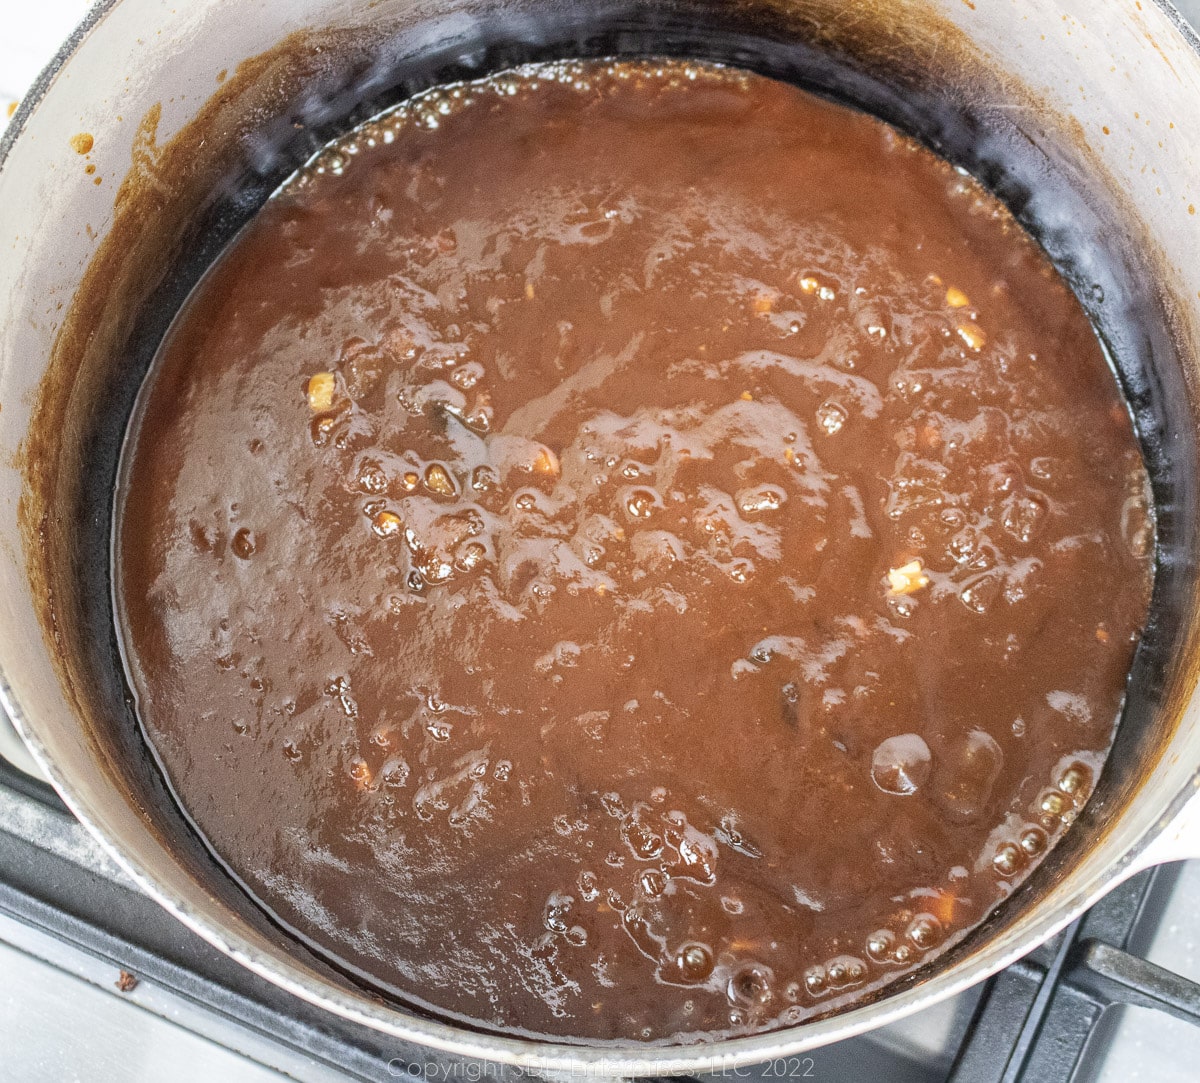
Note on technique: You can make the sauce in the same Dutch oven in which you braised the beef. Make sure to remove (use a strainer) any solid ingredients (garlic, stems from the thyme, and bay leaves). While the beef is cooling to shred, start your sauce. Alternately, use a separate Dutch oven for the sauce which will let you start the sauce while the beef is braising. Simmer the sauce for about 20 minutes, then remove it from the heat until the beef has finished braising. Then, get 1 cup of strained braising liquid for the sauce. Return the sauce to medium-high heat and add the braising liquid. Stir to combine all of the ingredients and simmer for another 10 to 15 minutes while the sauce thickens.
Pull the Beef and Add It to the Sauce
What happens in this step? By now the beef is super tender and cool enough to handle. The shape of the beef shreds is perfect for grabbing the delicious, tangy sauce into every nook and cranny.
While the sauce is simmering (and after the beef has cooled) shred the beef with your hands or a couple of forks. Make sure to remove any fat that you encounter.
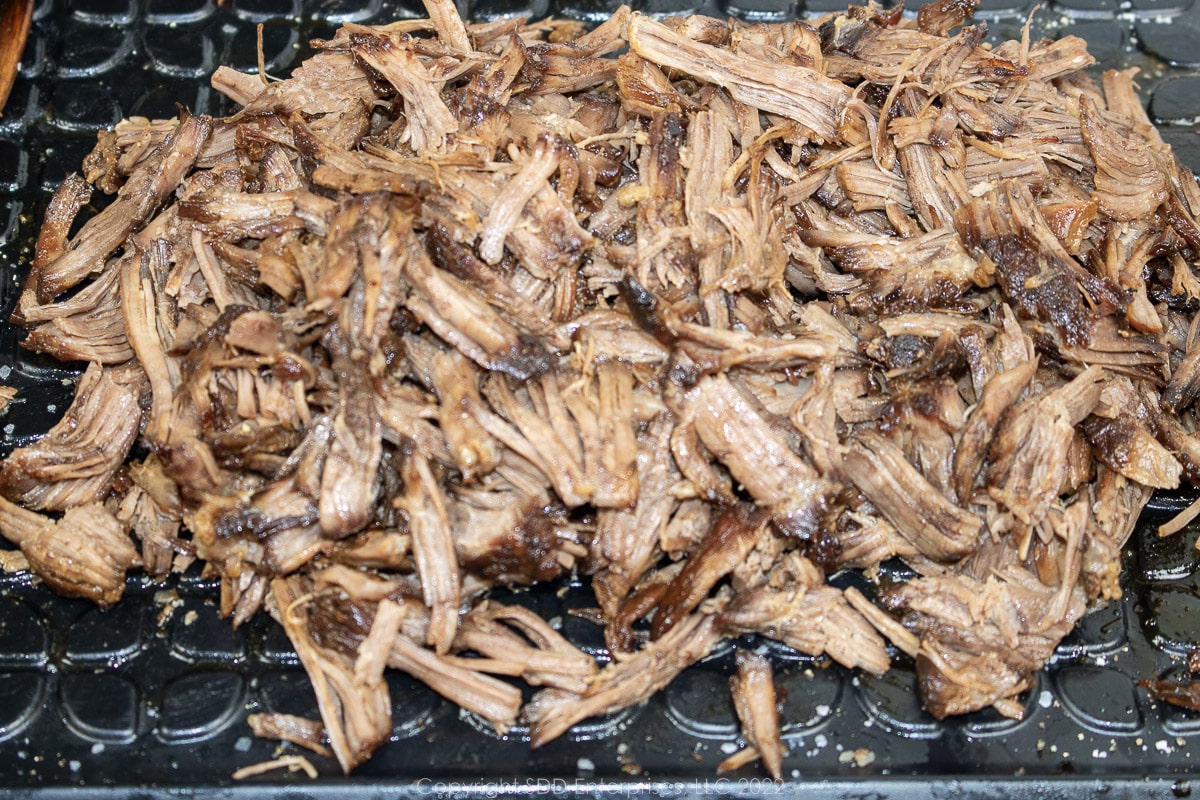
Add the shredded beef to the sauce and fold together until all the beef is covered in sauce.
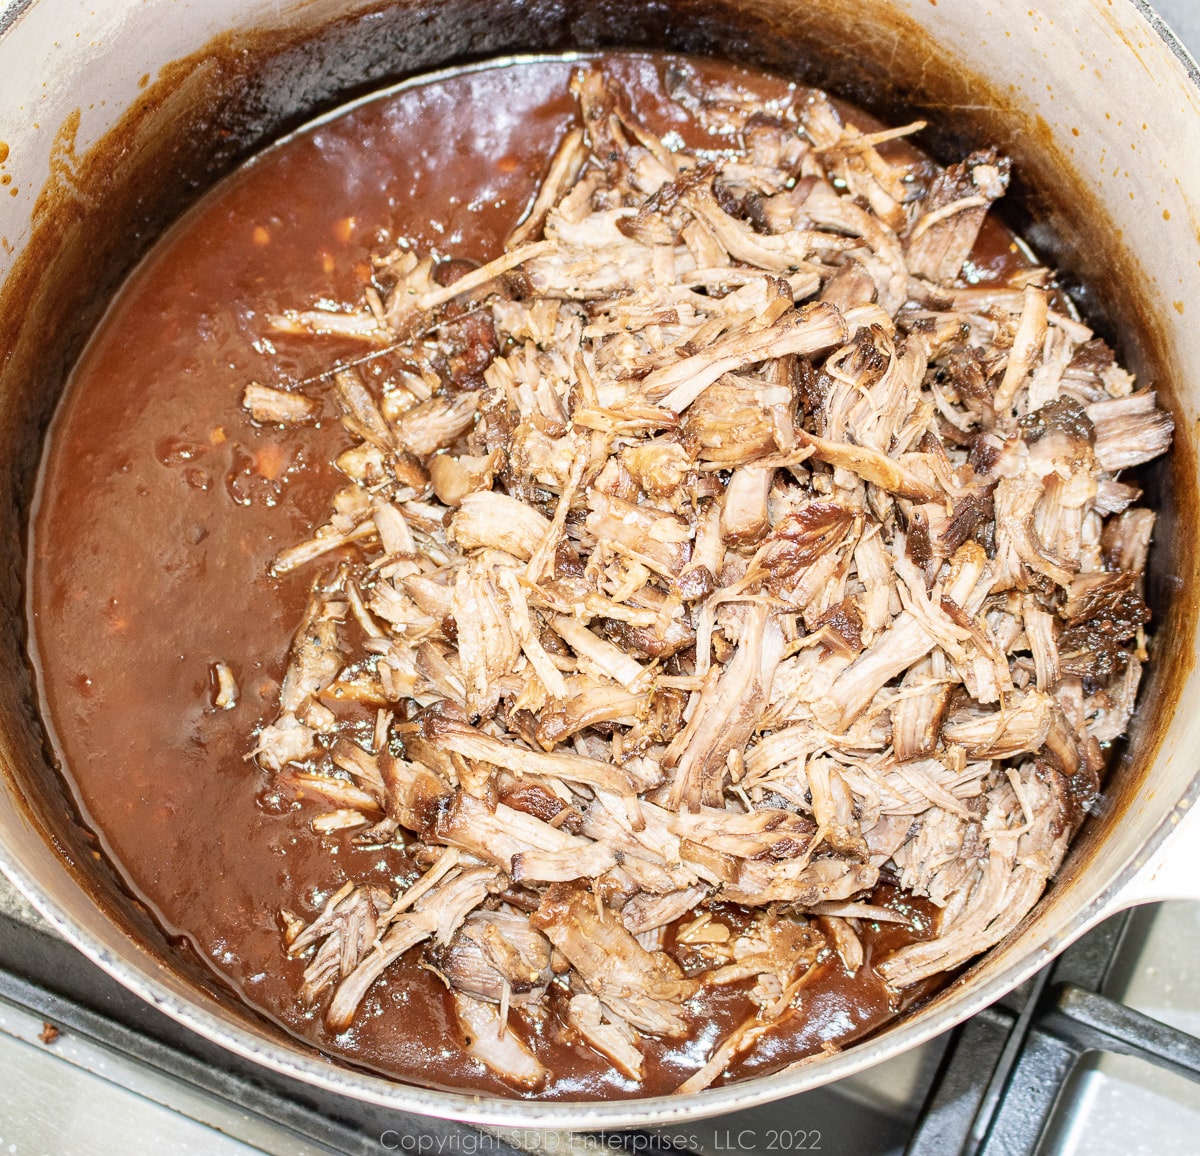
Simmer for about 5 to 10 minutes until the beef is reheated.
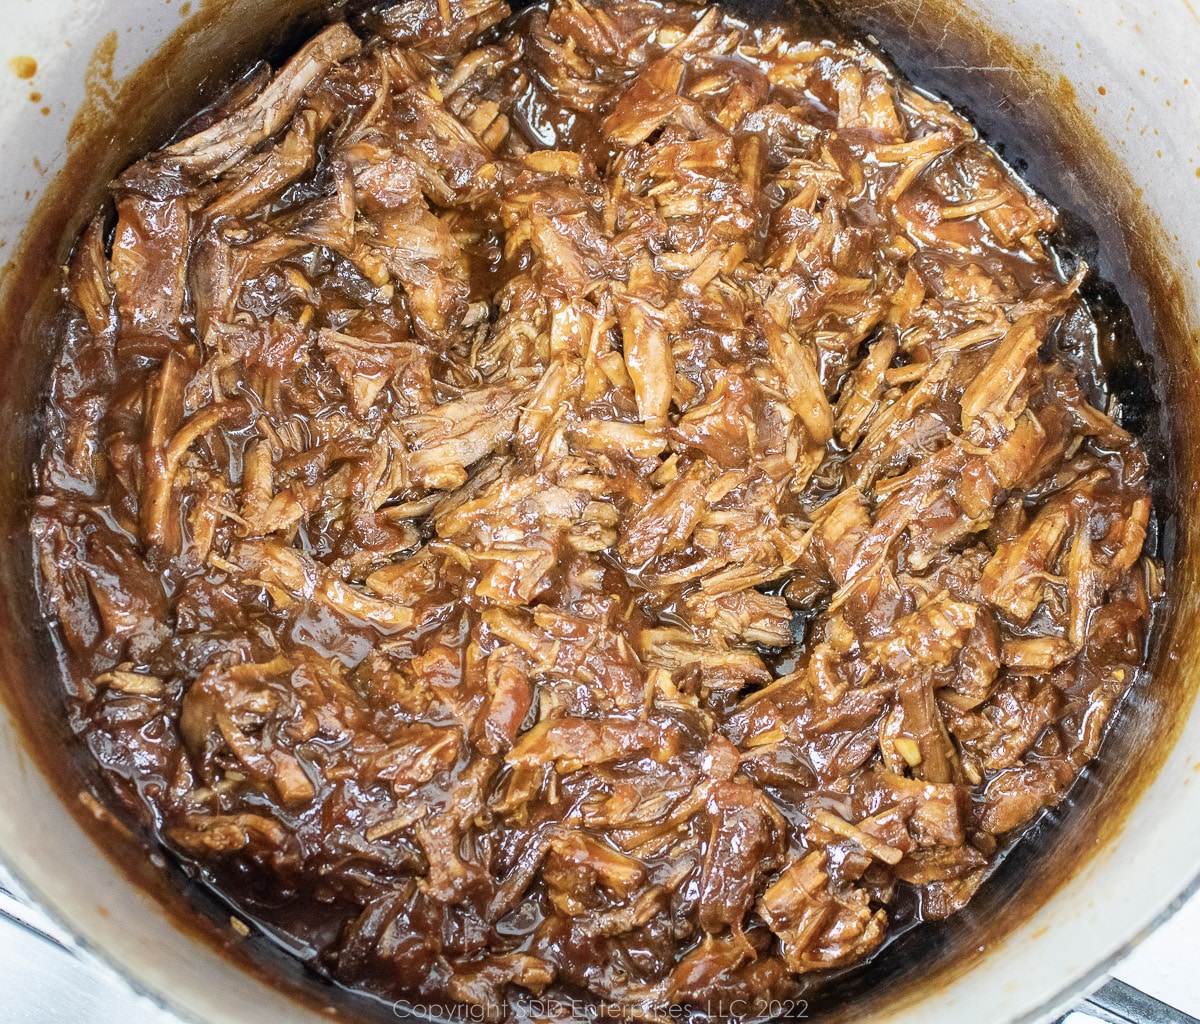
How to serve your Pulled Beef
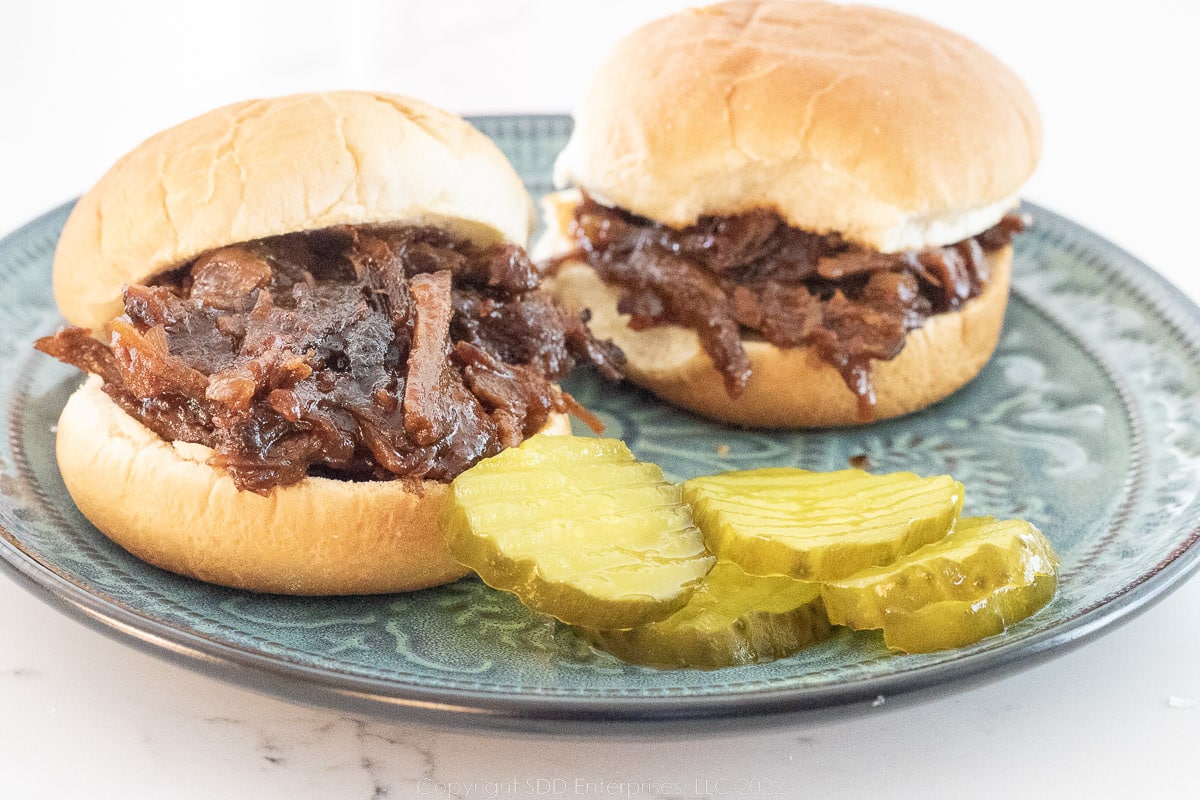
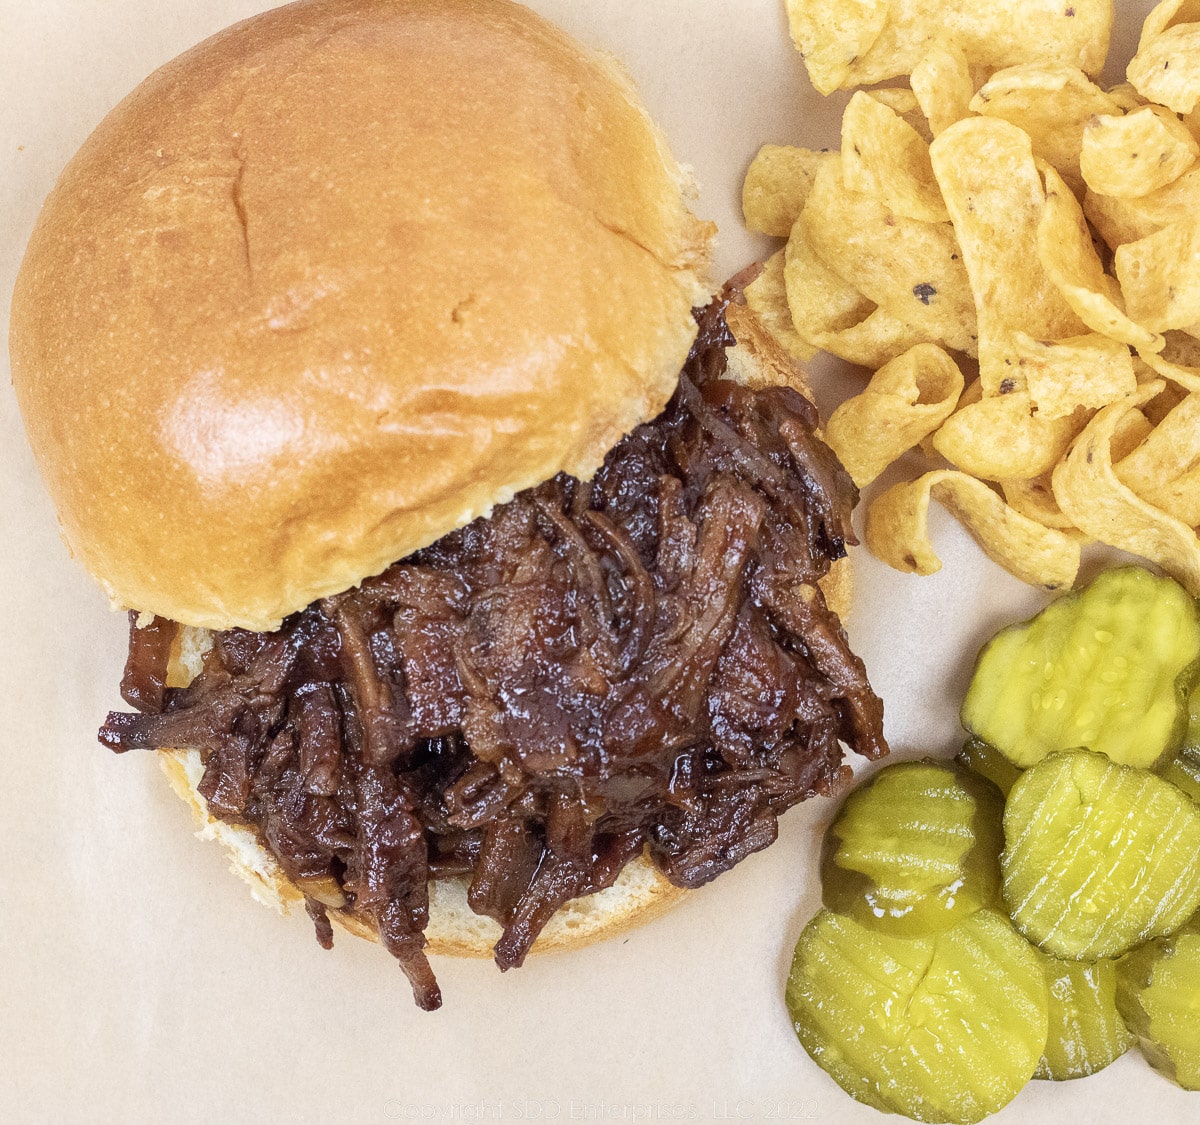
Now that you have your shredded beef drenched in this delicious tangy BBQ Sauce, what's the best way to serve it? The go-to is a fresh hamburger bun or brioche roll, but pulled BBQ beef is also very popular on sliders, as pictured below. For a little more "New Orleans", serve it as a Po-Boy on fresh, crispy french bread. Serve it dressed with lettuce, tomatoes, pickles, and mayonnaise and you have the makings of a South Louisiana classic BBQ Po-Boy.
Sign up for my email notifications of new recipes and posts right HERE.
Hints and Tips (FAQs)
This recipe was developed using a Chuck Roast. Use an inexpensive cut (if there is such a thing these days!) that has a lot of connective tissue and marbling. These cuts are naturally tough but respond well to braising. The collagen in the connective tissues will break down during slow cook and will gelatinize and make the meat extremely tender and juicy.
I generally use a full-bodied lager. Stouts and Porters also make good braising liquids, The general rule of thumb: use something you like to drink or use what you have on hand. Generally, the more full-bodied the better, but don't overthink it.
If you can't do the beer, substitute beef stock or chicken stock. Cold water also works. That doesn't bring any flavor to the party, but there are lots of other flavor sources in this recipe.
Leftovers can be stored in the refrigerator in an air-tight container for 5 to 7 days. Make sure to let the leftover BBQ beef cool down before refrigerating. To reheat, simmer in a saucepan over medium heat until warmed through, or use the microwave.
Leftovers can also be frozen for 4 to 6 months. Again, let the leftovers cool down, then place them in an airtight container. A vacuum-sealed bag works best. Keep the bag as flat as possible so that it freezes and defrosts quickly. Thaw out in the fridge, or in cold water that is changed frequently. Reheat in a saucepan over medium heat, or use the microwave.
You can braise the beef ahead and store it in the fridge for a few days, or in the freezer for a few months if using an air-tight container or vacuum sealer. After braising, shred the beef and discard the fat you remove. It's best not to freeze the fat. Let the braised beef cool down before freezing. Keep the vacuum-sealed bag as flat as possible so that it freezes and defrosts quickly. Thaw out in the fridge, or in cold water that is changed frequently.
The sauce can be made ahead and stored in the fridge for a few days or in the freezer for 4 to 6 months. Let the sauce cool down after cooking, then store in an airtight freezer container. Thaw out in the fridge, or in cold water that is changed frequently. Reheat in a saucepan over medium heat. Have some beer handy in case the sauce thickens too much during this process. Once the sauce looks right, add the shredded beef according to the recipe instructions.
Yes, you can use these time-saving devices. I'm somewhat of a traditionalist and besides, it doesn't take that long to braise the beef. But, if you want to trim some time off the recipe, those methods will work.
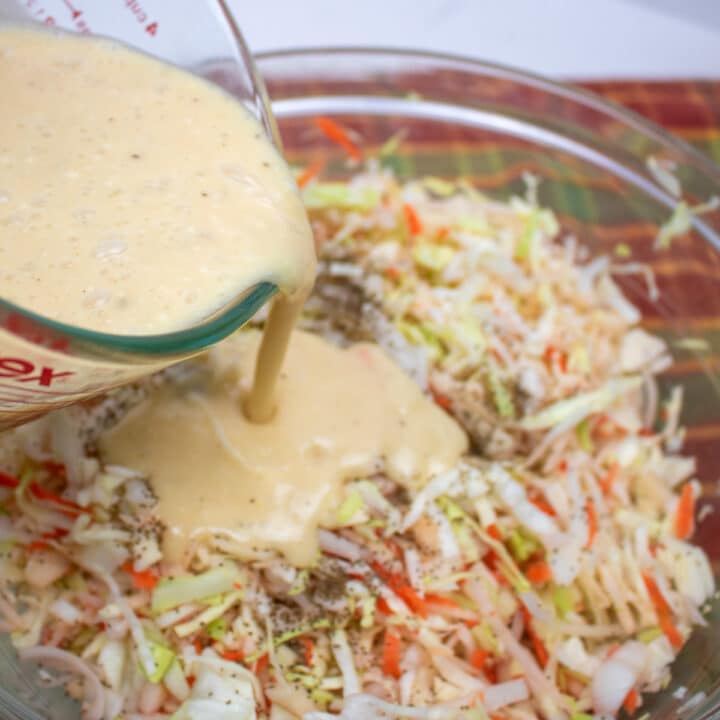
Here are some sides from Sweet Daddy D that will be perfect with Pulled Beef Sandwiches!
Try this delicious recipe from Sweet Daddy D:
If you make this recipe:
- Tell us about it in the Comments section below
- LEAVE A RATING ON THE RECIPE-worthy of 5-Stars?
- Questions or Comments? that’s the place!
- SIGN UP FOR OUR EMAIL UPDATES so you don't miss anything!
- Post a picture and share it with your friends on our Social Media:
Yeah You Right!
Recipe
Pulled Beef Sandwiches
Here's What You Need
For the Beef
- 2 ½ pounds chuck roast
- 1 sprig fresh thyme
- 2 bay leaves
- 4 cloves garlic crushed
- kosher salt and black pepper to taste
- 24 ounces beer lager or porter
- 1 tablespoon vegetable oil
For the Sauce
- 1 cup yellow onions finely chopped
- ½ cup Apple Cider Vinegar
- 1 tablespoon garlic about 3 cloves
- 2 tablespoons worcestershire sauce
- 2 tablespoons lemon juice use fresh; about ½ lemon
- 1 teaspoon kosher salt
- ⅛ teaspoon ground black pepper
- ⅓ cup light brown sugar
- 1 cup Heinz Chili Sauce
- 1 cup reserved Cooking Liquid
- ¼ teaspoon paprika optional
- dash tabasco
Here's What You Do
To braise the beef
- Trim the excess fat from the chuck roast. Spread kosher salt and ground black pepper all over the outside. Set aside.
- Place about 1 tablespoon vegetable oil in a cast iron Dutch oven over high heat. Sear chuck roast for about 10 total minutes on all sides. Lower the heat.
- Add the fresh thyme, bay leaves, and crushed garlic to the Dutch oven.
- Add the beer up to a level just under the top of the roast. (Don't cover the roast in liquid).
- Bring to a boil, then lower heat to a simmer and cover the Dutch oven tightly.
- Simmer for about 1 ½ hours, checking occasionally to make sure the liquid has not cooked off. Add more liquid as needed to keep the level just under the top of the beef.
- Start checking the beef at the 1 ½ hour mark for tenderness by sticking a bamboo skewer or fork into the beef. It's ready when the probe goes in with no resistance. The beef should be extremely tender and starting to fall apart.
- Remove the beef from the Dutch oven and set it aside to cool. Pour the cooking liquid through a strainer and reserve. See Notes.
Make the sauce
- In the same Dutch oven, add all sauce ingredients and blend well. See Notes
- Stir thoroughly to combine all the ingredients. Bring the sauce to a simmer over medium low heat. Maintain the simmer for about 30 minutes until it has thickened.
Shred the beef and add to the sauce
- Once the beef has cooled enough to handle, shred by hand and remove any fat you encounter.
- Add the shredded beef to the sauce and combine well. Simmer together for about 10 minutes.
- Serve on buns or sliders.

Comments
No Comments