Homemade stock adds rich flavor to your recipes and simply makes them better. By making the stock yourself, you can pattern it to accentuate the flavors of your recipe. Besides your main ingredients, use a simple combination of yellow onions, celery, and garlic matched with some Herbs and Spices and cold water. Slowly simmered, the flavors intensify as the water evaporates.
If you want to just skip to the recipe, click the "Jump To Recipe" button above or the Recipe link below and you’ll go right there without having to scroll through my article.
This post is not sponsored, but you will find affiliate links on this page. As an Amazon Associate, I earn from qualifying purchases. The price you pay as a consumer does not change, but I may make a small commission based on your purchase.
Jump to:
What’s the Big Deal?
Water adds no flavor to your recipe unless it is part of homemade stock. Most recipes achieve their greatest potential by building flavor in layers. As things cook or simmer together, a rich stock combines and concentrates flavor and distributes it throughout the recipe. The goal is a large batch of beautiful, clear stock that can be kept in the freezer until you are ready to use it. Check out the Hints and Tips (FAQs) section below for more on making your stock clear.
Here’s What You Need
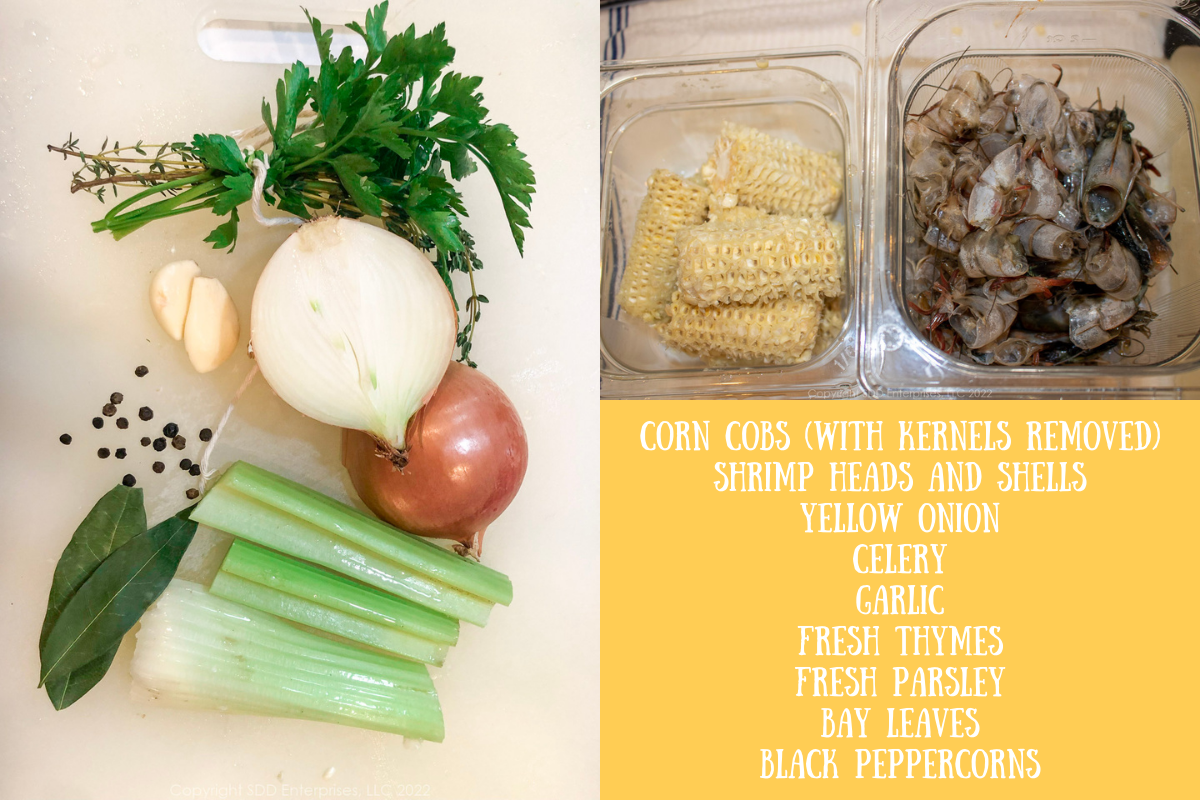
Here are some of the key ingredients for this recipe:
Ingredient Notes
Shrimp Shells: If you don't have time to make homemade stock, you should still save the shrimp heads and shells. If stored in an air-tight container (like a vacuum bag) they will last in the freezer for up to 3 months. You can do this until you have accumulated enough shells to make a stock. One tip I have if using a vacuum-sealed bag or a freezer bag is to snip off the rostrum, which the pointy horn set over the eyes. This will easily puncture your plastic bag.
Vegetables: Don't treat your stockpot like a trash can. Use good quality, fresh onions, celery, and garlic. Also, don't overcrowd the stockpot with vegetables. They will simmer for at least 2 hours and you will get a lot of flavor from a few vegetables. You can add carrots, but I would stay away from bell peppers because they will tend to turn mushy.
Equipment
Here is some of the equipment I used in making this recipe:
This post is not sponsored, but you will find affiliate links on this page. As an Amazon Associate, I earn from qualifying purchases. The price you pay as a consumer does not change, but I may make a small commission based on your purchase.
Here’s What You Do
First…you have a beer. Easy preparation. Enjoy a beer to get in a relaxed frame of mind while you read the recipe all the way through. There aren't many ingredients, but any recipe is easier if you know what ingredients and equipment you'll need and what you're going to do with them.
Mise en Place
Once you have the shrimp shells and heads and the corn cobs, slice a yellow onion in half and remove any loose skin (but you don't have to peel the onion), chop the celery into two or three pieces, and peel the garlic. Count out the black peppercorns and the bay leaves. Make bouquet garni by tying the parsley and thyme together.
Saute The Shrimp Shells
Melt the margarine in a large stockpot over high heat
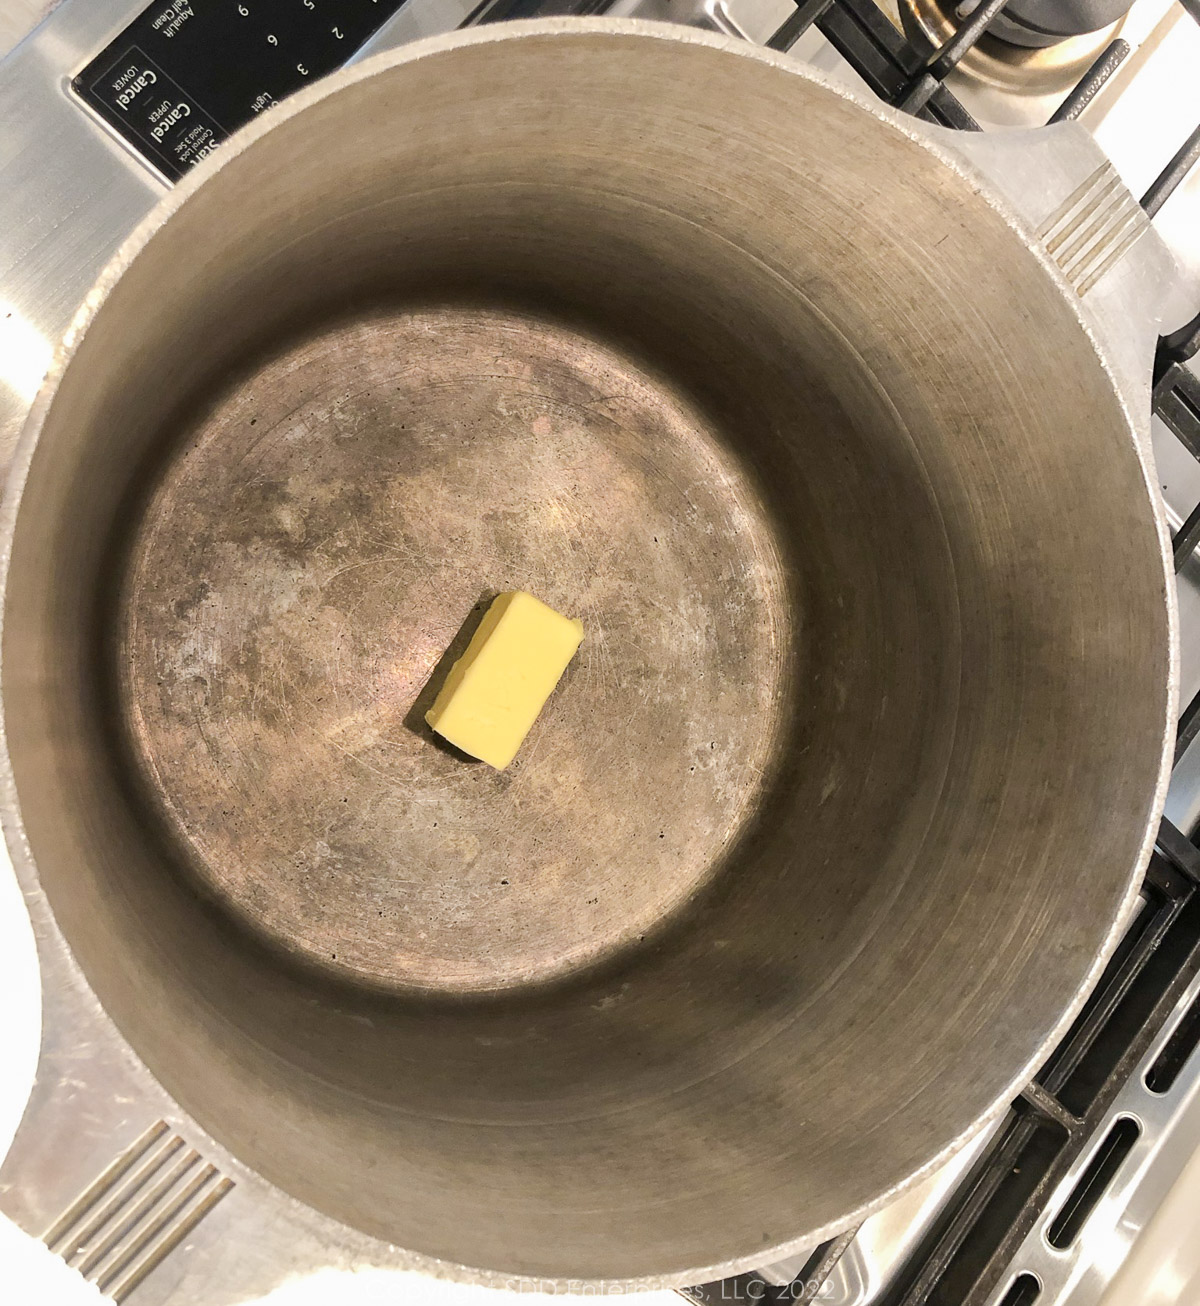
When the margarine has melted, add shrimp shells and saute, stirring often for about 5 minutes until the shells have turned red.
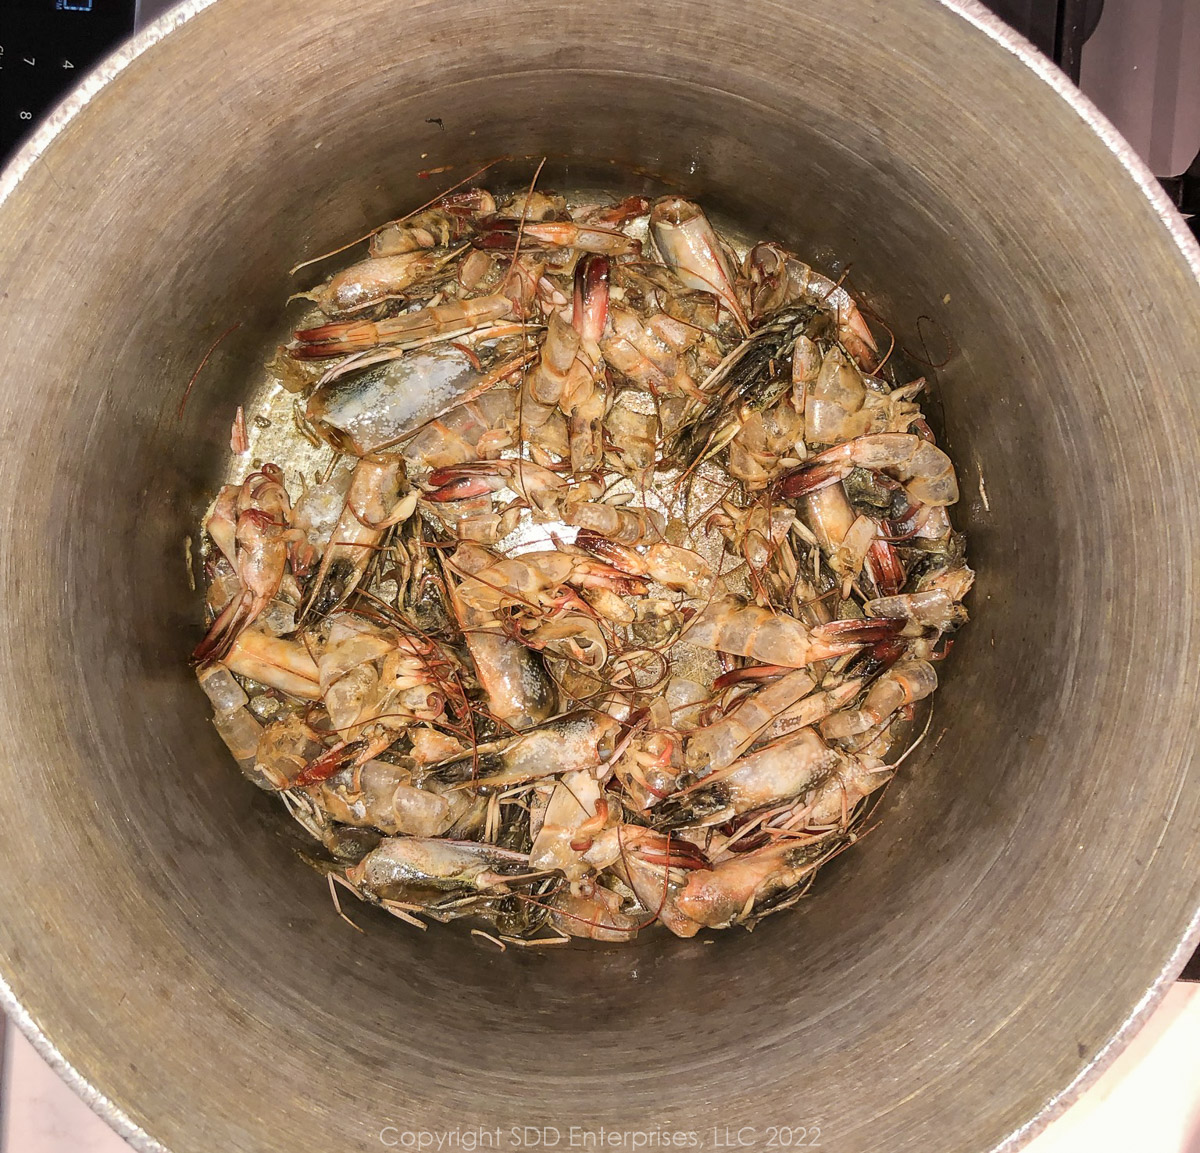
Add Veggies and Other Ingredients
Add the corn cobs to the shrimp shells and saute for a few minutes.
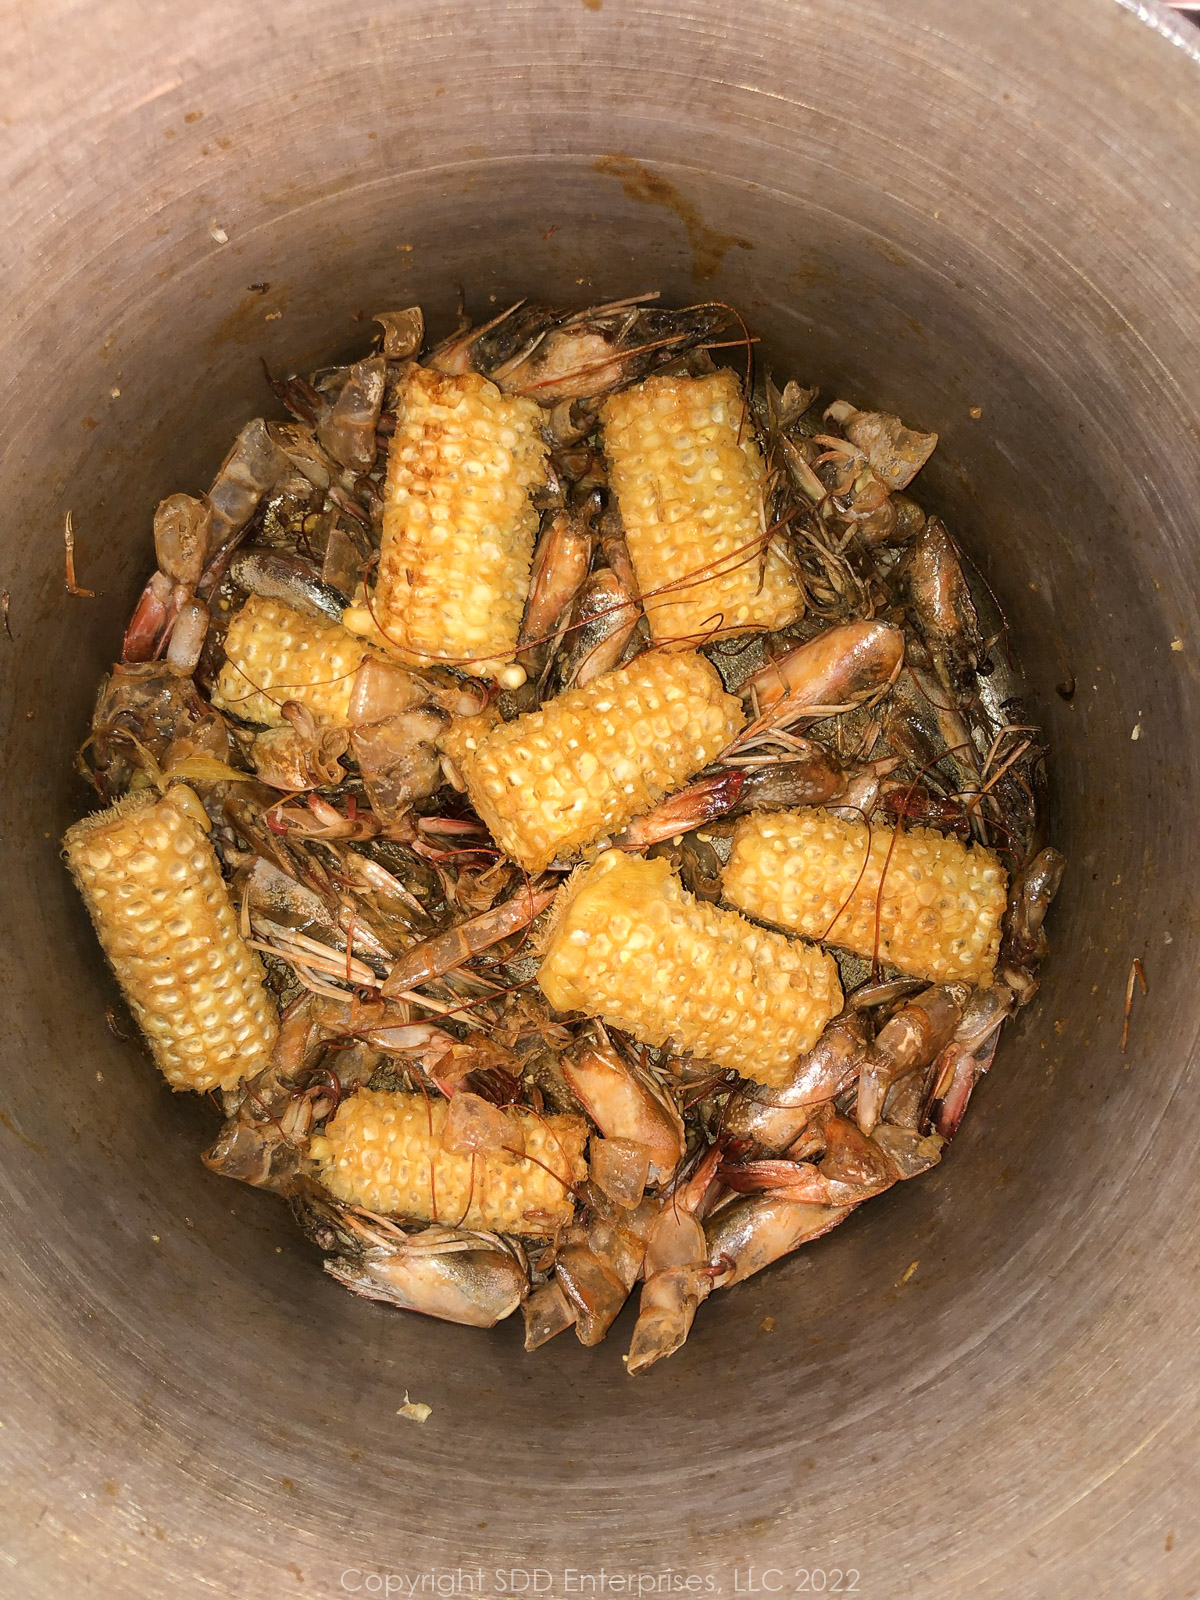
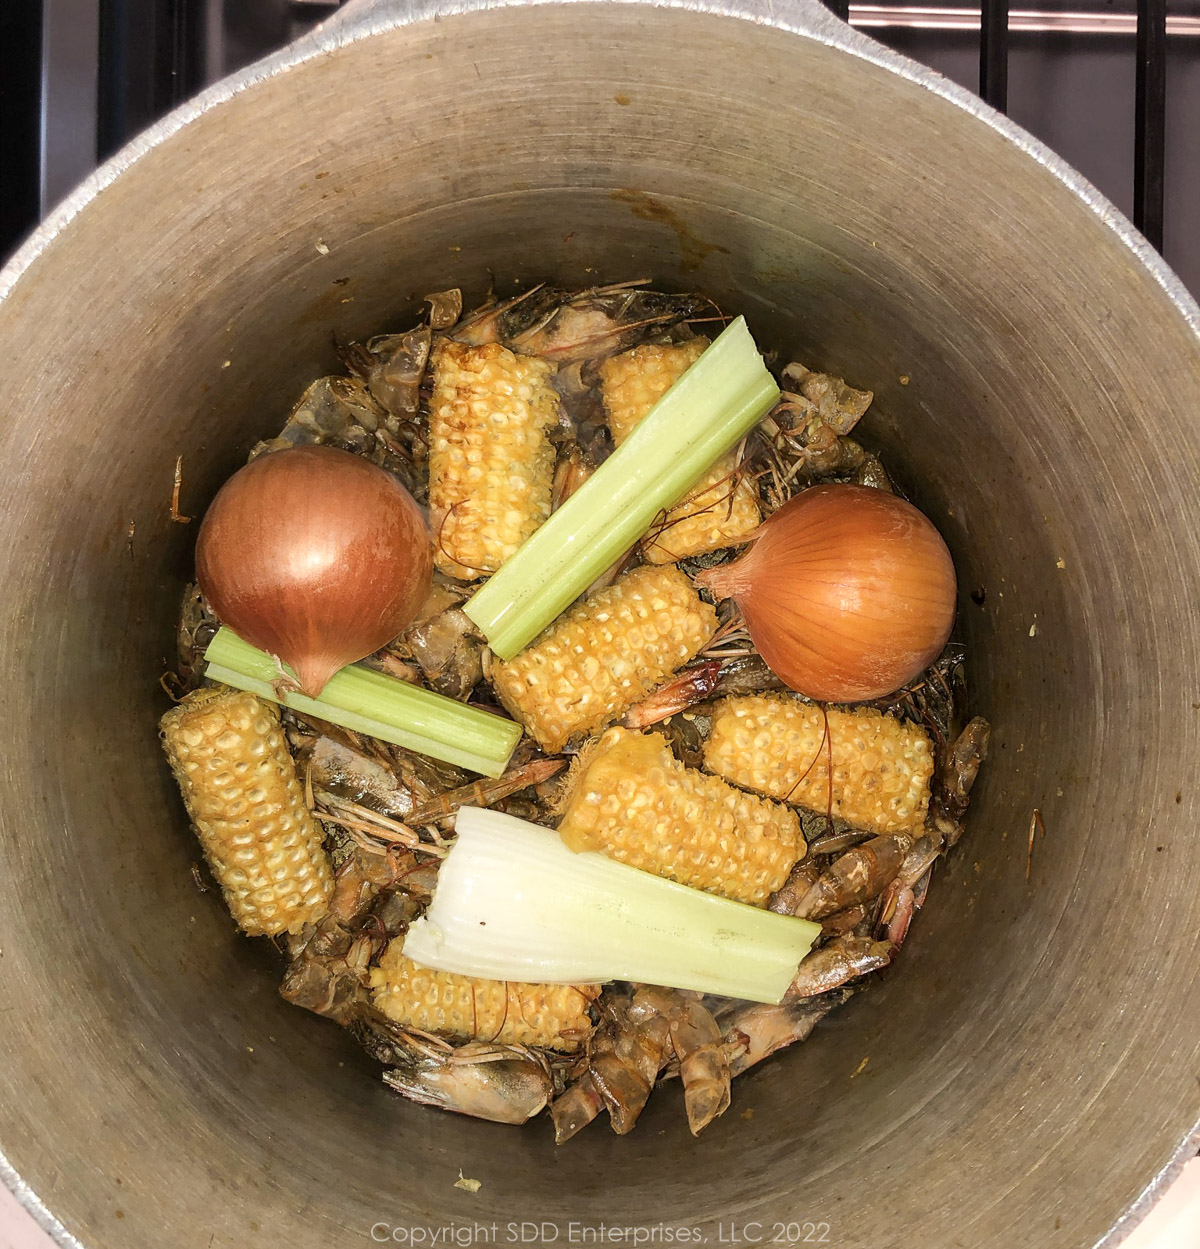
To the corn cobs and shrimp shells add one yellow onion and 1 celery stalk. Continue to stir and saute veggies for a few minutes.
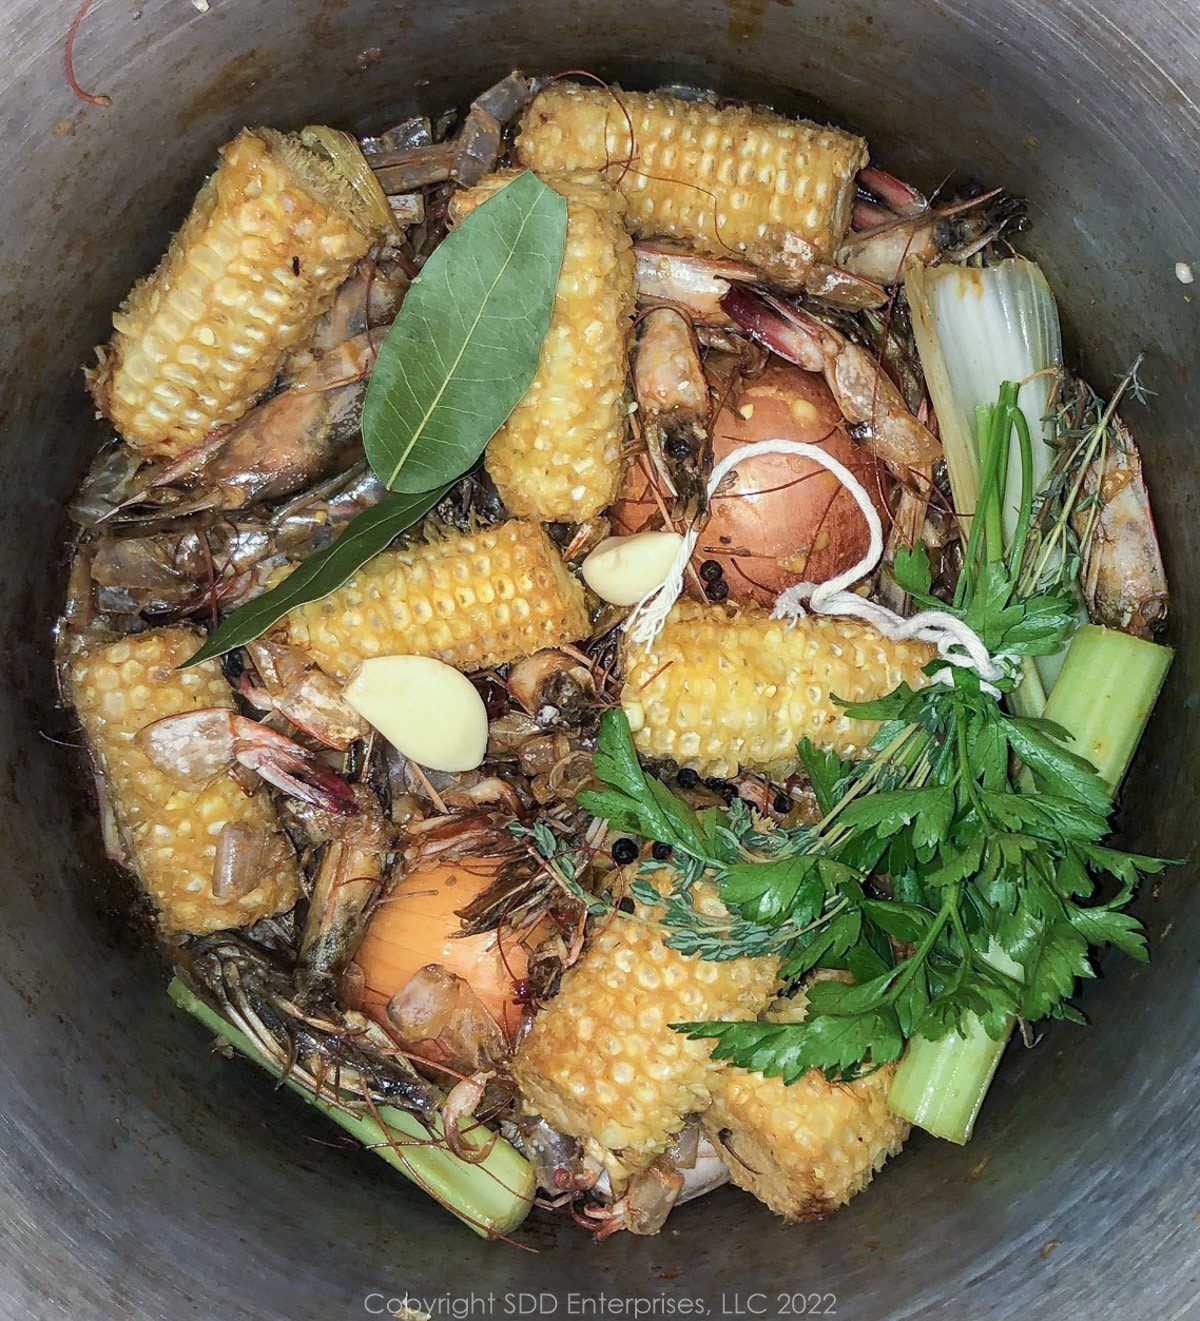
Throw in 2 crushed garlic cloves, the Garni bouquet, bay leaves, and black peppercorns.
Cover with 3 quarts of cold water.
Simmer and Strain
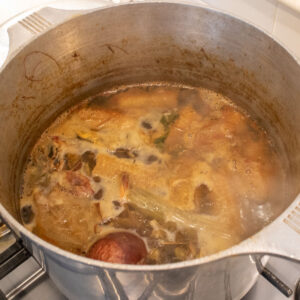
Bring the water just to a boil, then lower the heat to a very low simmer. Continue on a low simmer, uncovered, for about 2 hours or until the liquid has reduced to about 8 cups.
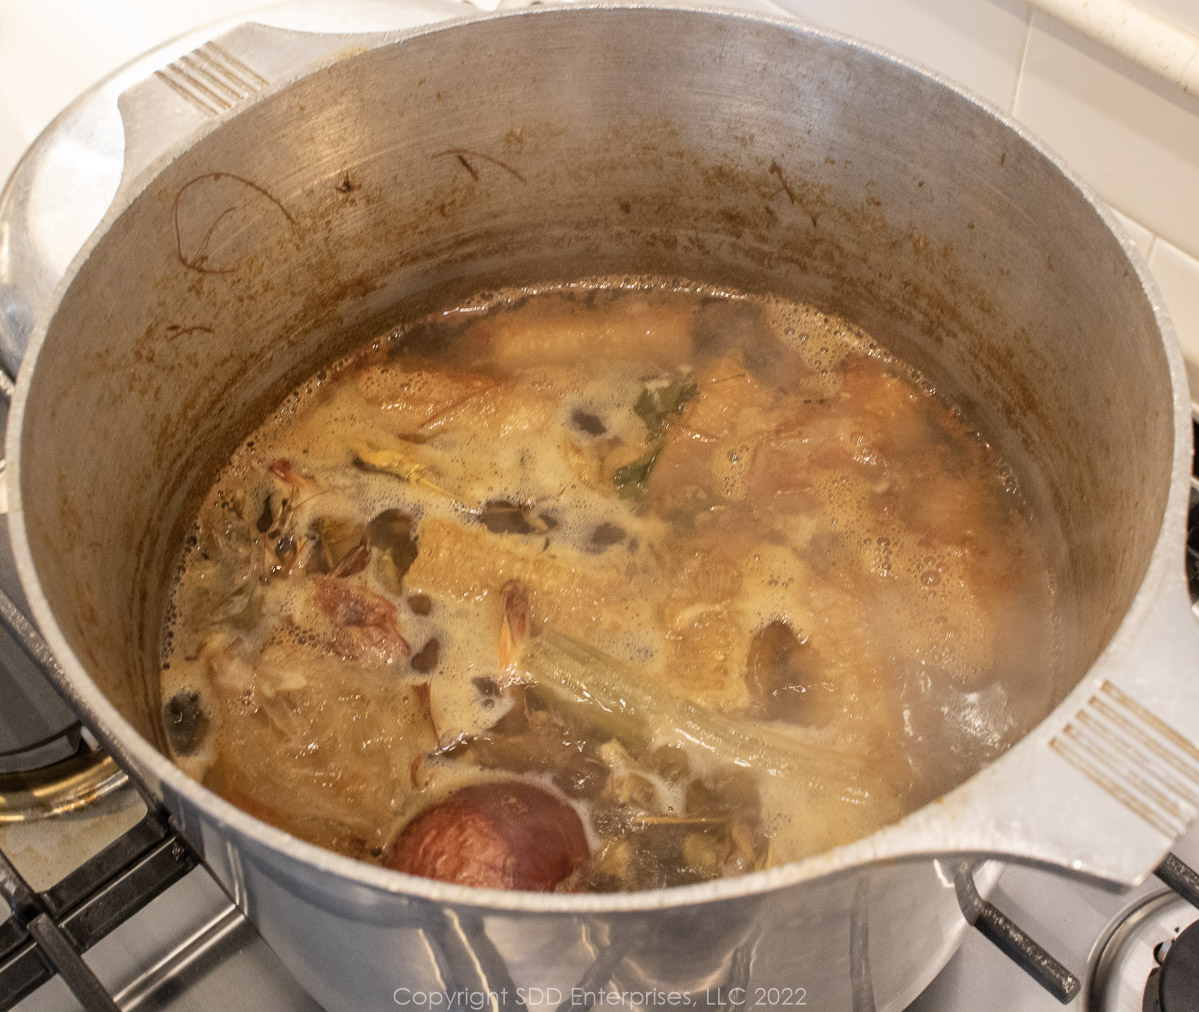
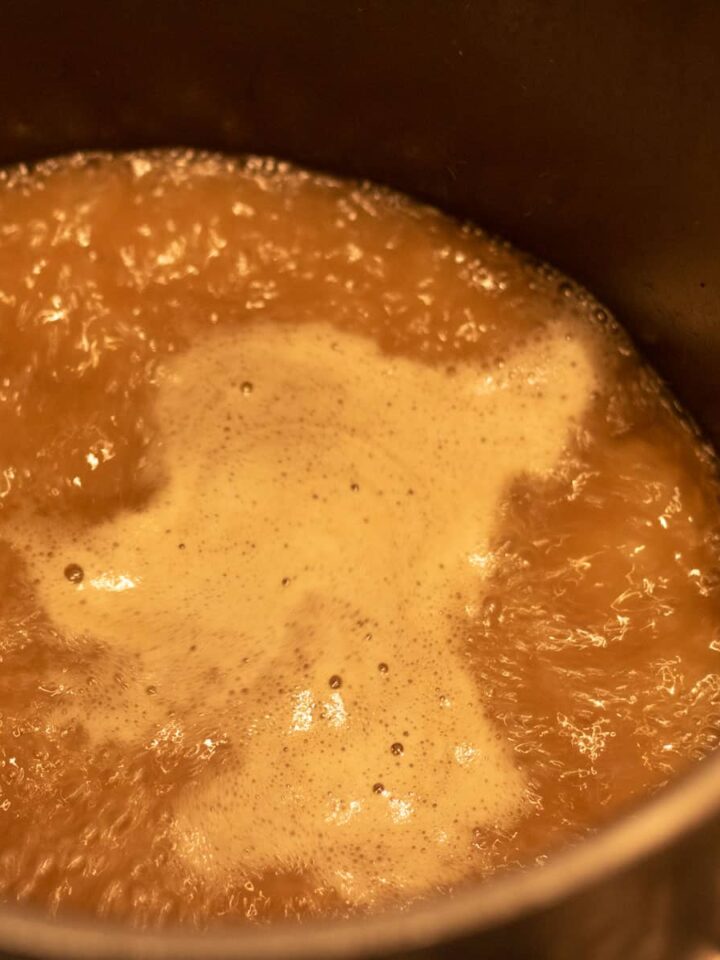
Lagniappe Tip: Skim any impurities from the top as the stock simmers. These impurities are coagulated proteins from the ingredients and will contribute to clouding your stock, Us a skimmer or a spoon to remove it as often as necessary.
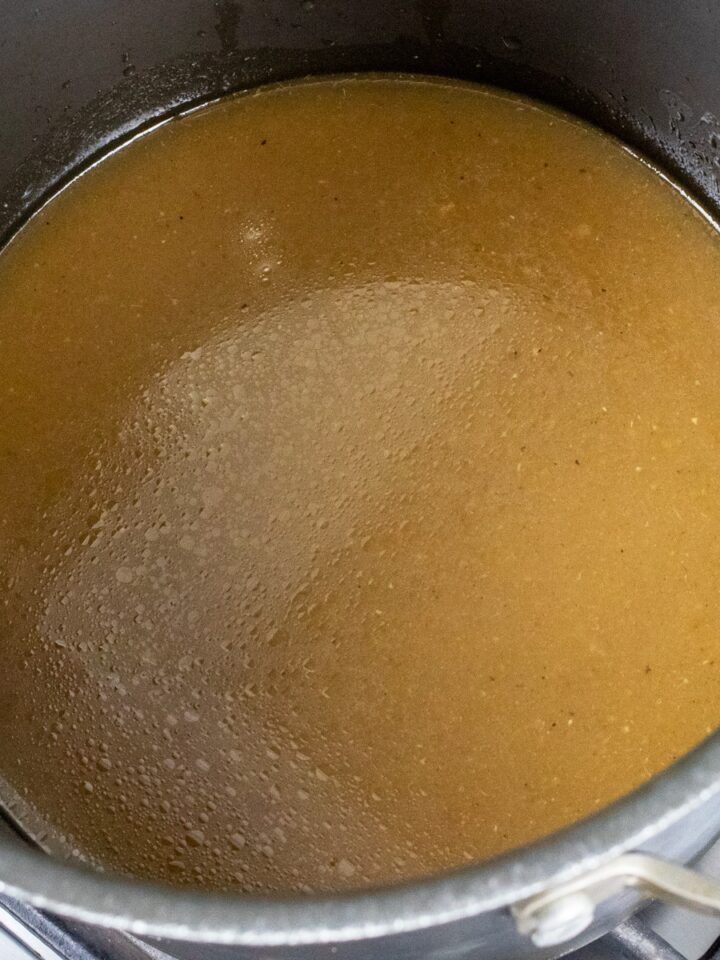
When the stock has reduced, strain stock through a kitchen strainer or standard strainer through a double layer of damp paper towel or appropriate filter. Discard the solids.

Sign up for my email notifications of new recipes and posts right HERE.
Hints and Tips (FAQs)
Commonly it is considered that a stock is made using bones while a broth is made with some sort of meat. Larousse Gastronomique defines stock as "a flavored liquid base for making a sauce, stew or braised dish". That simple definition says it all and the details of the ingredients and methodology can put it in the stock or broth category with subcategories under each. I like simplicity, so I generally call everything stock.
Don't overcrowd your stockpot with vegetables. Use onions (almost any variety is good), celery, garlic, and optionally a carrot. I avoid bell peppers because they tend to get mushy. Use fresh vegetables and remove any loose skin.
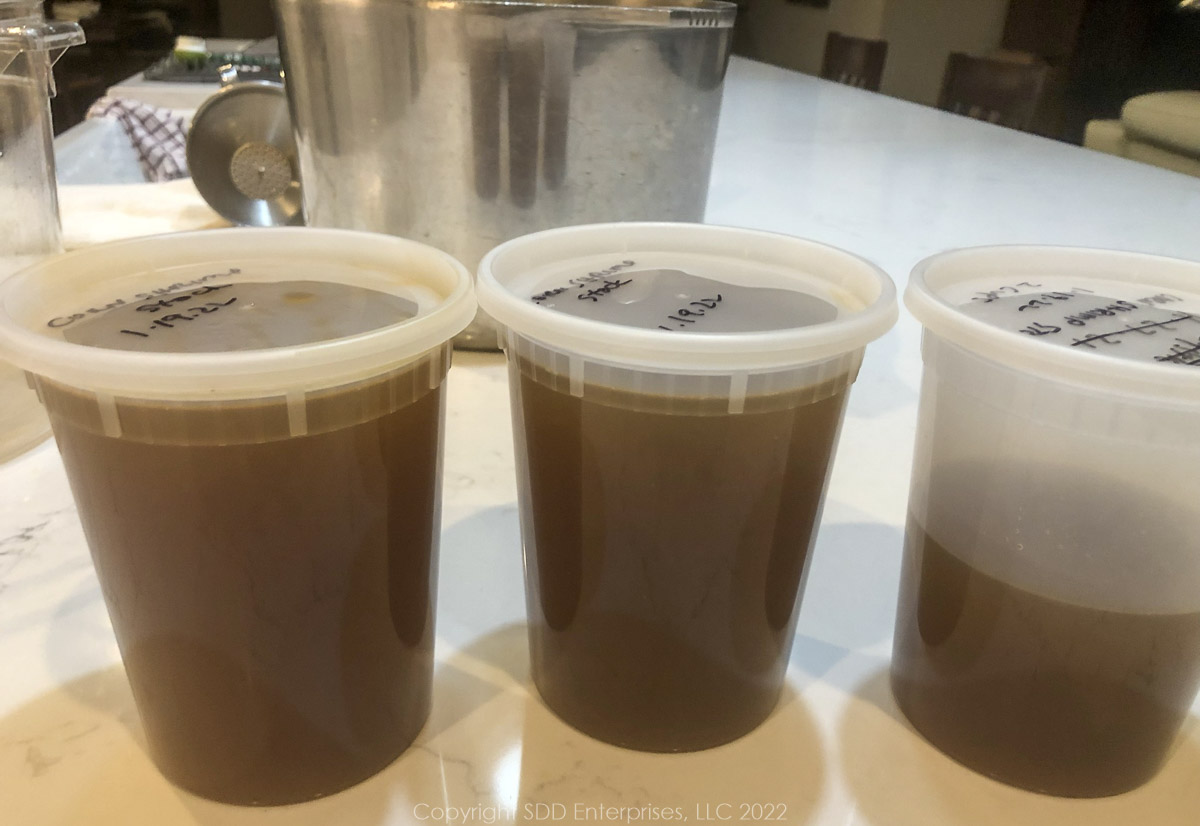
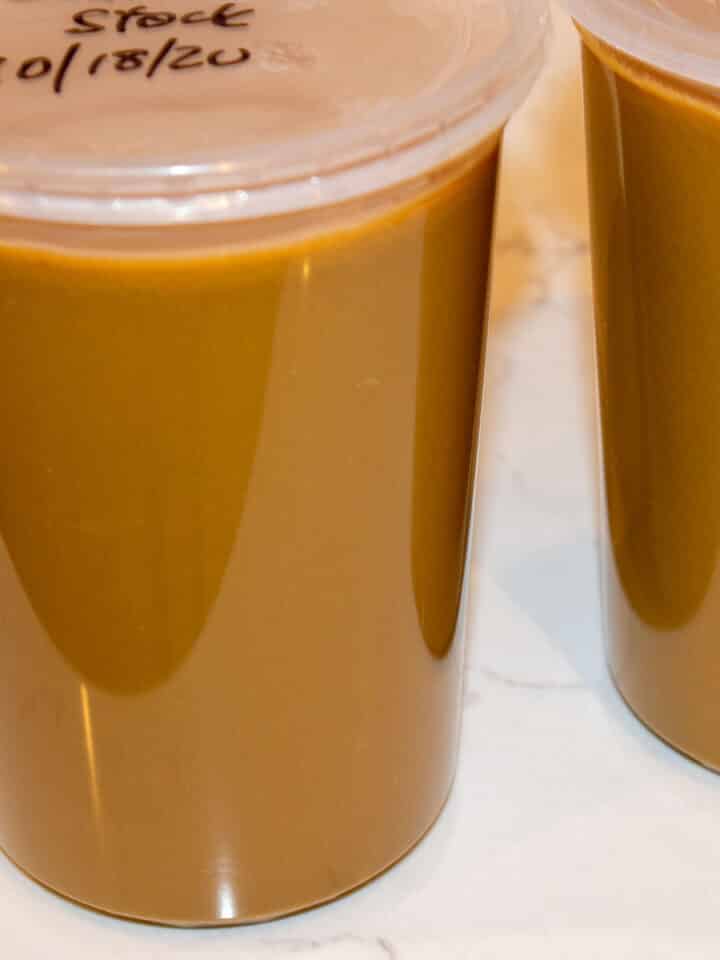
Cool the stock quickly by placing the strained stock into an airtight freezer container and placing that in cold water until the stock reaches room temperature. Make sure to label the contents and date. Place in the freezer for up to 3 months. To defrost, set it in the refrigerator overnight, or soak the container in cold water until defrosted (change the water every 30 to 45 minutes). Partially defrosted stock can be placed in a stockpot to finish defrosting over very low heat.
Making homemade stock is a constant effort for clarity. A clear stock not only looks better, but it tastes better. A few thighs to keep in mind:
Treat your stock gently. Don’t boil but keep it on a slight simmer. It may be frustrating to watch, but boiling will coagulate the ingredients and break up proteins which will make the stock cloudy.
Skim off the impurities. The impurities, or scum as some describe it, are coagulated proteins that should be removed when they accumulate on top. Use a spoon or skimmer for this and do it as often as needed. These impurities can also cloud the stock and flavor.
Use cold water so the protein coagulates at the same rate.
Strain the finished stock carefully. A damp paper towel is a good filter. Care should be used when placing the filter in the strainer. You don't want the unstrained stock to bypass the filter because it wasn’t placed properly.
Cool the strained stock quickly and place the labeled airtight freezer containers in the freezer as soon as possible.
I generally stay away from salt when making homemade stock. The same goes for an abundance of spices. The finished stock will be a key ingredient in other recipes and salt and spices should be added to the final recipe for the best results. The homemade stock will be more versatile if you keep the seasonings minimal. A pinch of salt is good, a lot of salt is not necessary.
Other homemade stock recipes from Sweet Daddy D:
If you make this recipe:
- Tell us about it in the Comments section below
- LEAVE A RATING ON THE RECIPE-worthy of 5-Stars?
- Questions or Comments? that’s the place!
- SIGN UP FOR OUR EMAIL UPDATES so you don't miss anything!
- Post a picture and share it with your friends on our Social Media:
Yeah You Right!
Recipe
Corn and Shrimp Stock
Here's What You Need
- Shrimp shells with Heads About 4 cups or from 2 - 2 ½ pounds of shrimp
- 4 corn cobs
- 4 tablespoons margarine
- 1 large yellow onion cut in half
- 1 stalk celery cut into 2 or 3 pieces
- 2 cloves garlic peeled
- 4 sprigs fresh parsley
- 2 sprigs fresh thyme
- 20 whole black peppercorns
- 3 quarts cold water
Here's What You Do
- Melt the margarine in a large stockpot over high heat
- When the margarine has melted, add the shrimp shells and saute, stirring often for about 5 minutes until the shells turn red.
- Add the corn cobs and continue to saute for a few minutes.
- Next, add 1 yellow onion, 1 celery stalk. Saute a couple of minutes.
- Add the garni bouquet, 2 garlic cloves crushed, the bay leaves and black pepper corn. Stir to combine.
- Cover with 3 quarts of cold water
- Bring just to a low boil, then immediately lower the heat to a very low simmer
- Simmer uncovered for about 2 hours or until the liquid has reduced to about 8 cups.
- Skim impurities from the top as the stock simmers, as needed.
- Strain the stock and discard the solids


Comments
No Comments