A rich chicken stock is the cornerstone of many dishes, especially Cajun and Creole recipes. Sweet Daddy D's Homemade Chicken Stock recipe uses roasted chicken parts, foundational vegetables, and mild herbs, slowly simmered for 3–4 hours. Collagen from bones and connective tissue transforms into gelatin, creating a silky, gelatinous texture. The concentrated, flavorful liquid adds depth to soups, sauces, gumbos, and more.
This post is not sponsored, but you will find affiliate links on this page. As an Amazon Associate, I earn from qualifying purchases. The price you pay as a consumer does not change, but I may make a small commission based on your purchase.
Jump to:
Why Is This The Chicken Stock Recipe You Need?
A good stock is a beautiful thing. I am continuously working to perfect my stock recipes and have learned the hard way some essential steps for all stocks. With a few tweaks, you can make the stock that takes your cooking to the next level.
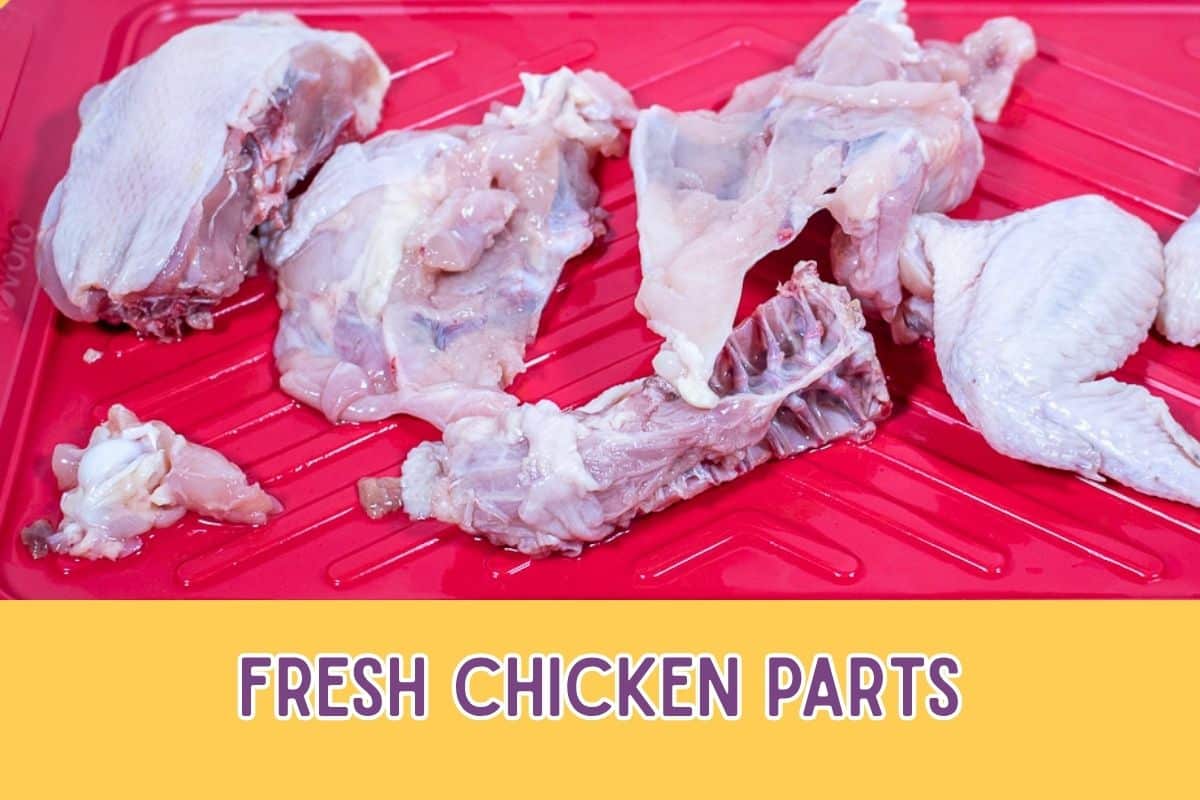
- Quality ingredients: A great stock begins with high-quality ingredients. Use fresh chicken parts like backs, necks, or wings, which are rich in collagen for a silky texture. Use a classic mirepoix (onions, celery, and carrots) and Fresh Herbs that are not blemished with brown or soft spots.
- Thoughtful Aromatics: Use fresh Herbs that align with your intended use. For general-purpose stock, mild herbs like Thyme and Marjoram are perfect; for specific recipes, use more distinct herbs like oregano, rosemary, or sage.
- Start with Cold Water: Starting with cold water slowly extracts flavors and gelatin from chicken bones, connective tissue, and vegetables, resulting in a richer, clearer stock. Hot water can make the stock cloudy by emulsifying impurities and may reduce gelatin yield by quickly cooking the ingredients’ surfaces.
- Simmer, Don't Boil: A low, gentle simmer, just below a boil, extracts the most flavors without clouding the stock. It concentrates flavors and allows easy skimming of foam. Stirring will emulsify fat and proteins, which will make the stock murky.
- Skim, but Don't Stir: During simmering, bones, connective tissue, and roasted vegetables release proteins and debris, forming frothy “scum” on the stock’s surface. Stirring emulsifies these impurities, clouding the stock. Skim the scum with a spoon to ensure clarity, aided by a cold-water start. An undisturbed simmer extracts collagen for a silky, gelatinous texture, boosting richness.
Here's a step that I use in this Homemade Chicken Stock Recipe that produces the distinct profile I am looking for:
Roasting the Chicken and Veggie: The deep, rich flavor and beautiful color are the result of the caramelization of the ingredients. This enhanced flavor isn't available without roasting.
Here’s What You Need
A complete list of ingredients used in Homemade Chicken Stock can be found in the printable recipe card at the end of this article.
Ingredient Notes
- Chicken Parts: Choose chicken parts high in bones and connective tissue, like backs, wings, necks, or carcasses. These contain collagen, which breaks down into gelatin during simmering, giving the stock a silky, gelatinous texture that boosts richness and flavor in the stock.
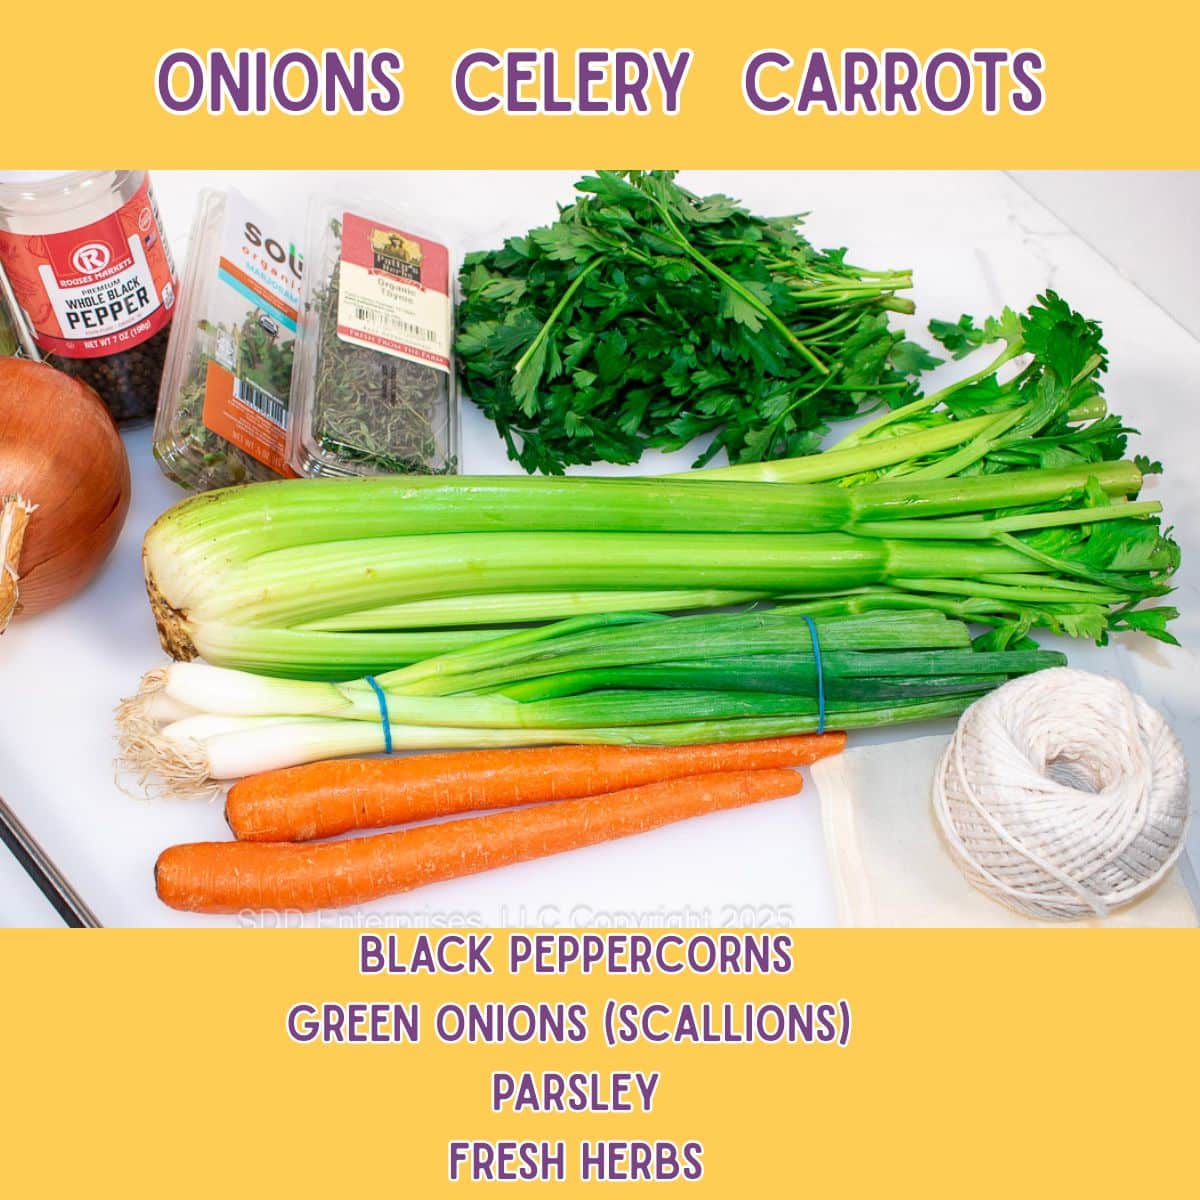
- Vegetables: Use Yellow Onions, Celery (with leaves), and carrots. This is known as mirepoix and provides a classical flavor and aroma foundation. (See the Mise En Place section below for preparing the vegetables.)
- Green onions (or scallions): add a fresh, oniony flavor.
- Fresh Herbs: Use mild herbs like thyme, marjoram, parsley, and bay leaves.
- Spice: Whole black peppercorns add mild, warm spiciness and aromatic complexity to the flavor profile; other spices may be saved for the final recipe.
Optional Ingredients
- Garlic: Provides a mild, enhanced depth of flavor.
- Fresh Herbs: If making this stock for a specific purpose, use stronger herbs like oregano, rosemary, or sage if they support your desired flavor profile.
- Dry Herbs: These can be substituted for fresh herbs. Use about half the quantity of dry vs fresh and place them in the garni bag with the peppercorns and bay leaves.
- Giblets: The heart and gizzard will add savory depth. You should include the neck as an absolute necessity with the other chicken parts. The liver will make the stock bitter, so don't use it (freeze it for Dirty Rice!) You can roast the heart and gizzard with the chicken parts or just add them uncooked to the simmering stock.. Rinse them well before use to remove any impurities.
- Wine: A dry white wine can be used to deglaze the roasting pan or added to the liquid if it supports your desired flavor profile.
- Salt: I generally leave salt out of homemade stock and instead salt my final dish. If you want to use salt, add minimal amounts while the stock simmers.
Cookware
This post is not sponsored, but you will find affiliate links on this page. As an Amazon Associate, I earn from qualifying purchases. The price you pay as a consumer does not change, but I may make a small commission based on your purchase.
Besides the usual prep tools, these came in handy while making this Homemade Chicken Stock:
Hints and Tips (FAQ)
Homemade stock offers intense flavor, control over ingredients, and cost savings. You can customize it to your taste, avoid additives like excessive sodium, and use scraps like chicken bones and vegetable trimmings.
Stock uses collagen-rich bones and connective tissue, simmered long to extract gelatin, yielding a rich, silky texture. Broth, made with meat and less simmering, has a lighter flavor and less gelatin.
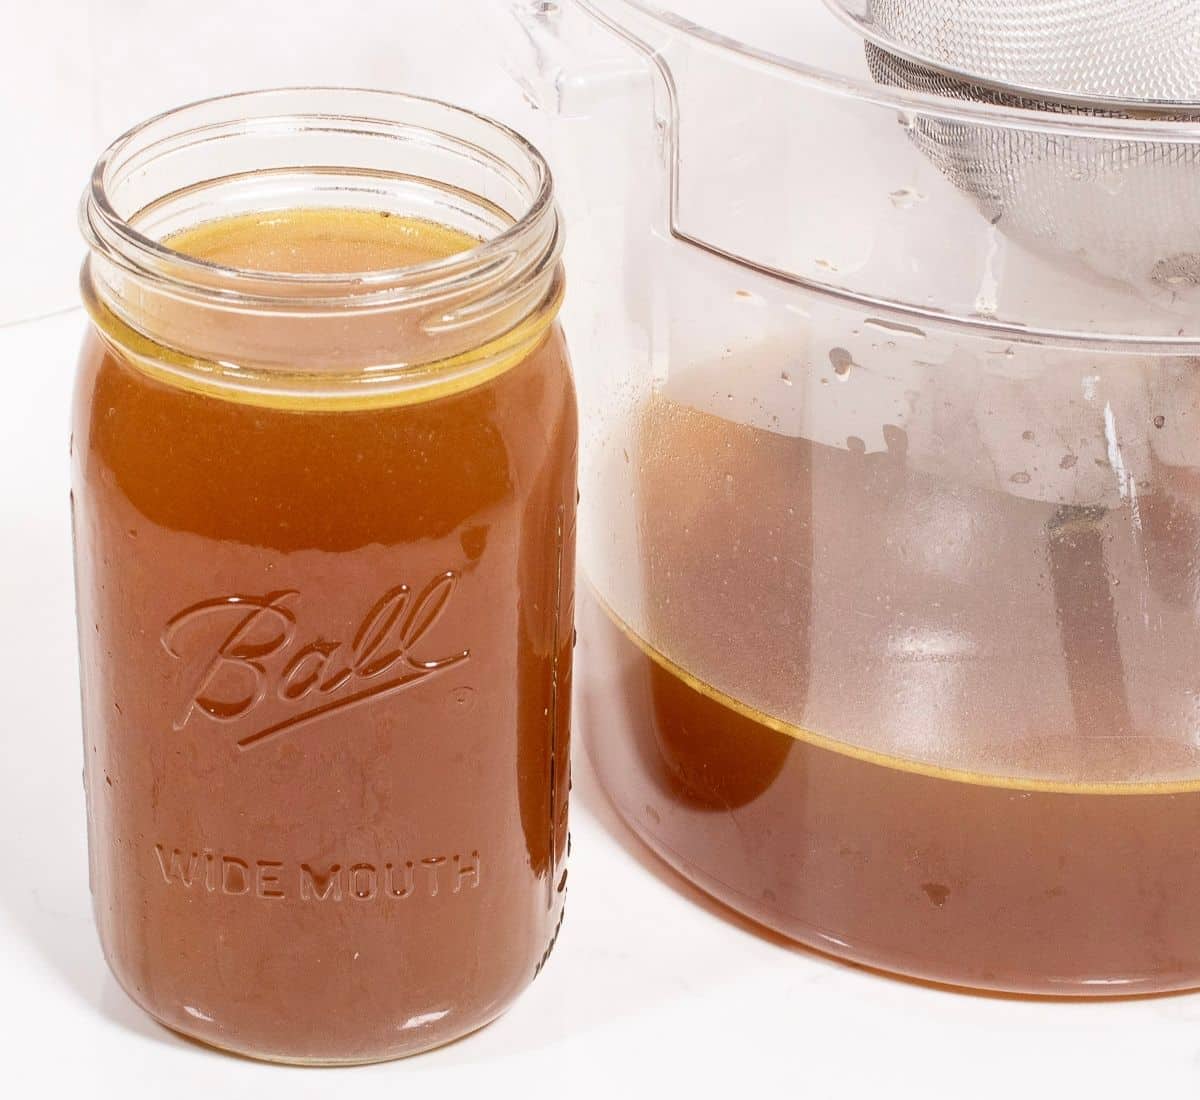
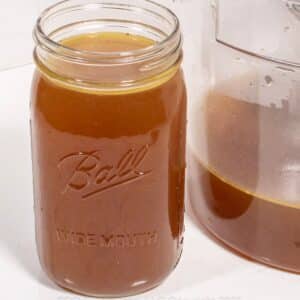
After 3–4 hours of simmering, the stock should be flavorful, aromatic, and slightly reduced (about 8 cups from 16 cups of water). Taste it (carefully, as it’s hot) to check for richness. The chicken and vegetables will look soft and spent, having given their flavor to the broth.
The chicken and vegetables will be flavorless after hours of simmering. They have done their duty, so discard them or let them continue contributing to the compost pile.
Here’s What You Do
First...you have a beer. Homemade Chicken Stock is very easy to make, but benefits greatly from care in preparation and method. Prepare the cook and prepare the ingredients. Start by reading the recipe all the way through as you sip a beer, then select the ingredients and aromatics that will give you the flavor you want. Mise en place is the next step!
Mise En Place
No-angst cooking starts with Mise En Place! Prep and measure all your ingredients before you start. This way, most of the work is done, and you can easily focus on cooking!
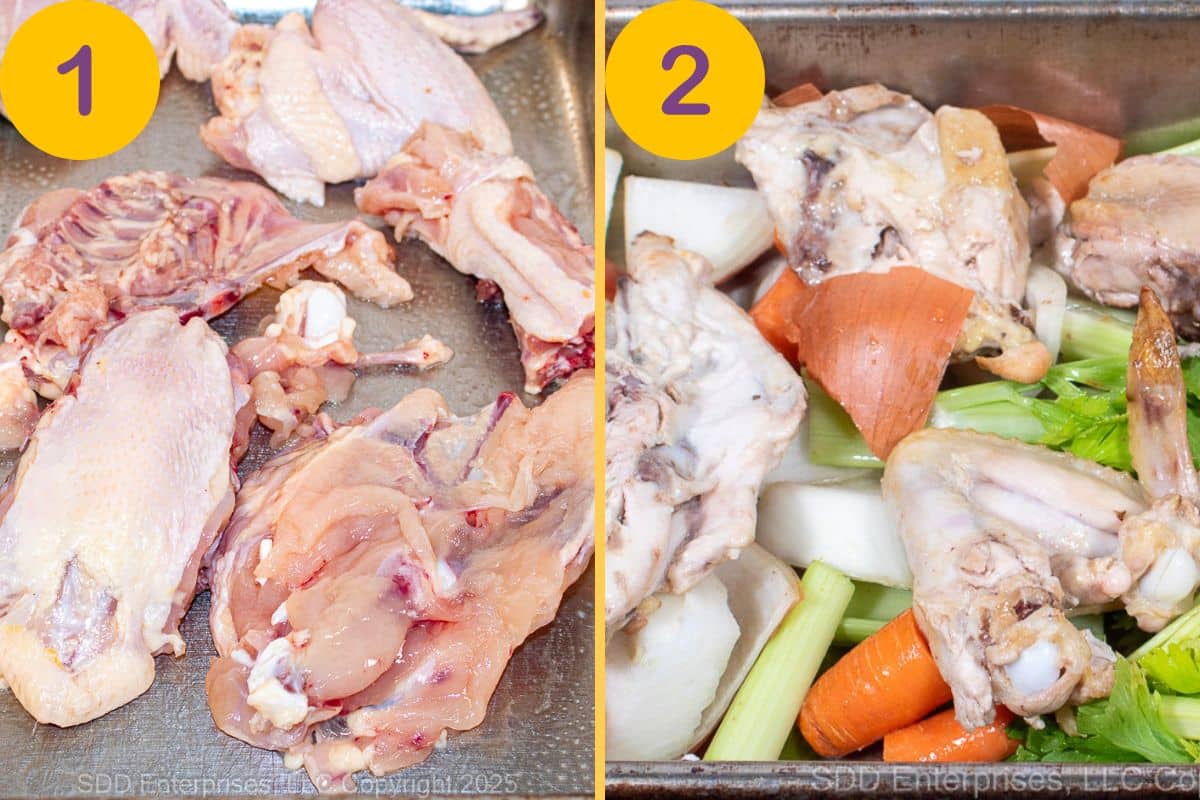
Prepare the chicken
- Chop the chicken parts into uniform-sized pieces, if possible.
- Pat the chicken dry with paper towels.
- Don't season the chicken before roasting, as we will add aromatics and herbs to boost flavor.
- Prepare a roasting pan with nonstick spray or a light coating of vegetable oil.
Prepare the Aromatics
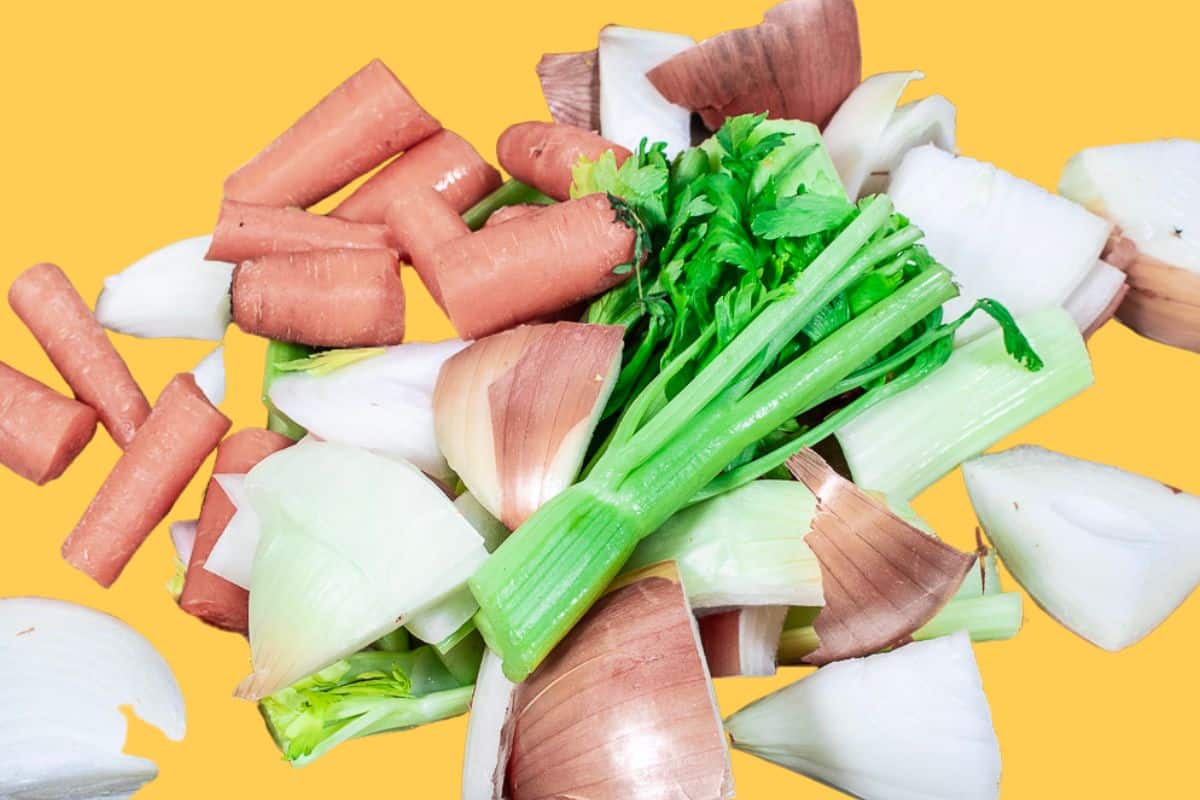
- Chop the yellow onions, celery, and carrots into uniform-sized pieces.
- There is no need to peel the onions, but remove any loose skin, then chop them into quarters lengthwise.
- The carrots do not need to be peeled; use a vegetable brush to brush them under cold running water.
- Use the celery leaves if available.
- Chop the celery and carrot stalks into 2 to 3-inch pieces.
- If using garlic, slice the top off to expose the flesh.
- Use butcher twine to tie the fresh herbs, parsley, and green onions into a bouquet garni.
- Place the peppercorns and bay leaves in a garni-bag (spice bag) or wrap them in cheesecloth.
Roast the Chicken and Vegetables
What happens in this step? Here we build the richness and depth of flavor in the main ingredients that will infuse the water.
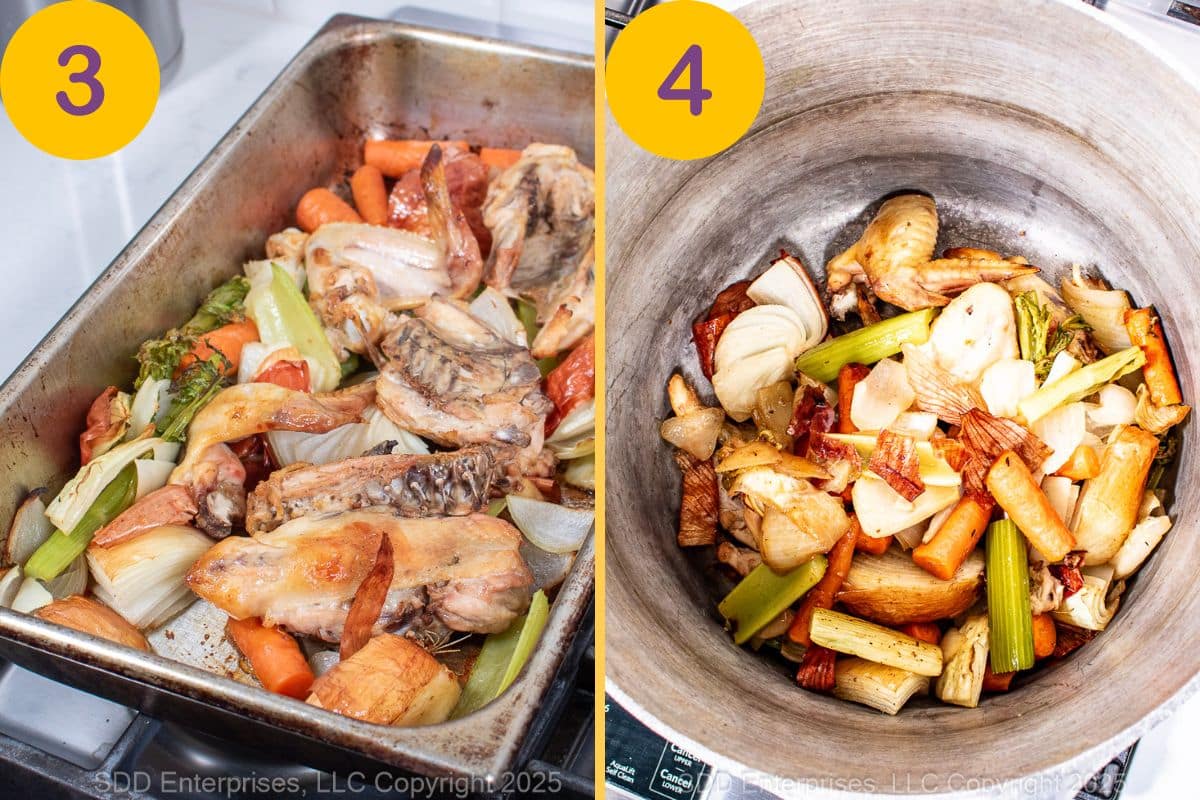
- Roast the chicken parts for 15 minutes in the preheated (425°F) oven. Flip the chicken over, coating them in the rendering fat. Return the roasting pan to the oven and roast another 10 minutes.
- At this time, remove the chicken pieces from the roasting pan and add the cut vegetables and garlic (if using). Stir to coat the veggies in fat, then return the chicken pieces to the roasting pan and place it back in the oven. Roast for 20 minutes, stirring once.
Lagniappe Tip: Coating the ingredients with the rendering fat spreads the flavor and helps maintain moisture in the ingredients.
- The chicken and veggies should be turning golden brown and beginning to caramelize.
- Place all the chicken and veggies into the stockpot.
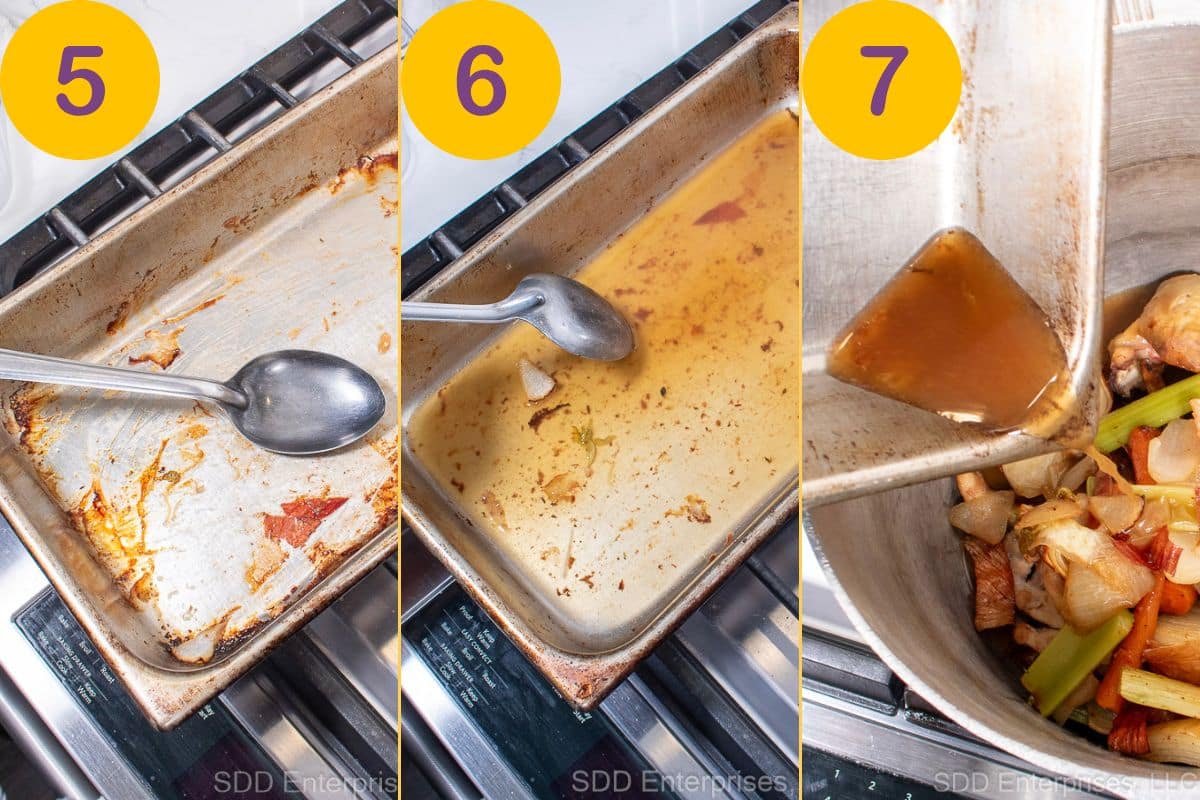
- If there is excessive fat in the roasting pan after removing the chicken and veggies, remove all but 2 Tablespoons.
- Add the deglazed liquid to the stockpot.
Lagniappe Tip: While roasting, the sugars in the chicken and veggies will caramelize on the bottom of the roasting pan. This is nothing but flavor, so we want to deglaze the pan and add all that flavor back to the stock.
Simmer the stock
What happens in this step? Slowly simmering the ingredients will extract the gelatin from the collagen and create immense flavor and richness.
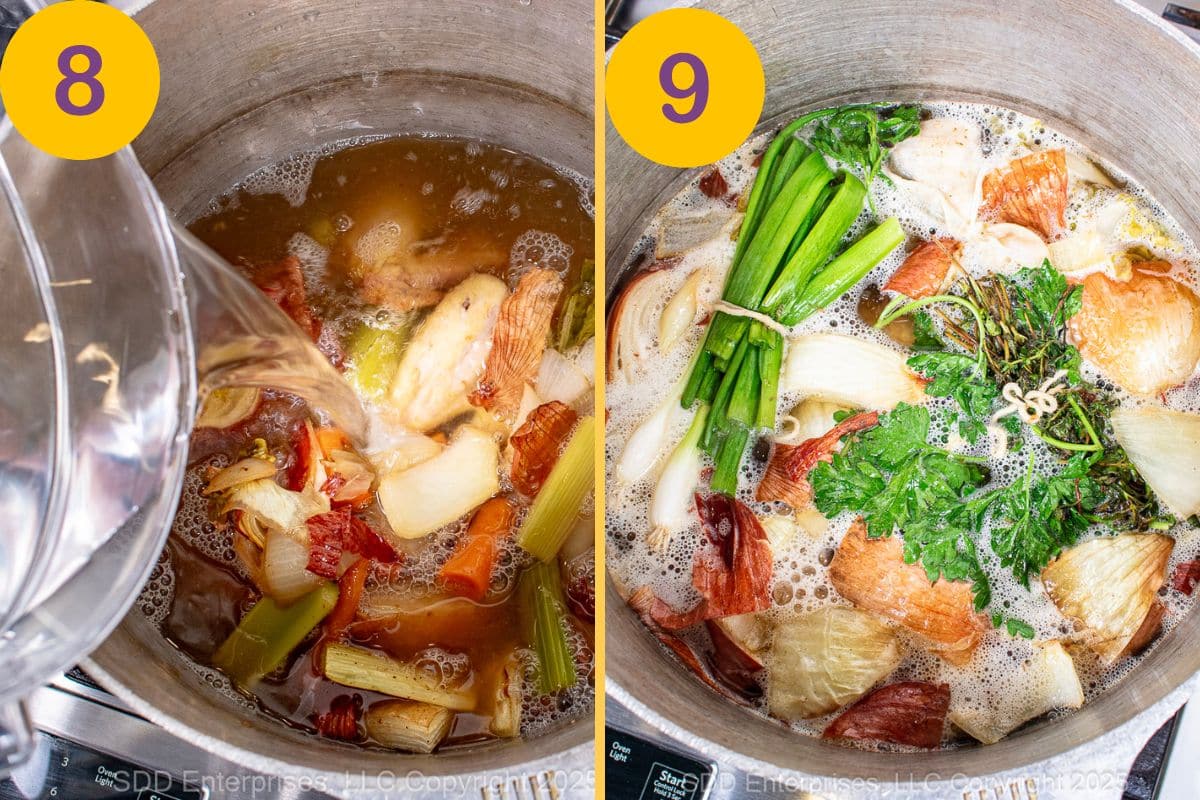
- Add 16 cups of cold water to the stockpot.
- Add the bouquet garni and the garni bag; bring the water to a slight simmer. After about 20 minutes of simmering, remove the foam that accumulates on top.
Lagniappe Tip
- Skimming the “scum” (coagulated proteins and impurities) that floats to the top while simmering is essential to a clear stock. After about 20 minutes of simmering, skim and discard any foam that develops on the surface. Repeat as necessary, but the development of these impurities usually subsides in the first 30 minutes.
- While simmering, use the lid to control evaporation by covering, partially covering, and uncovering the stockpot as needed. The goal is to reduce the liquid by half.
Strain the stock
What happens in this step? This important step separates the solids from the liquid, leaving a clear, richly colored stock.
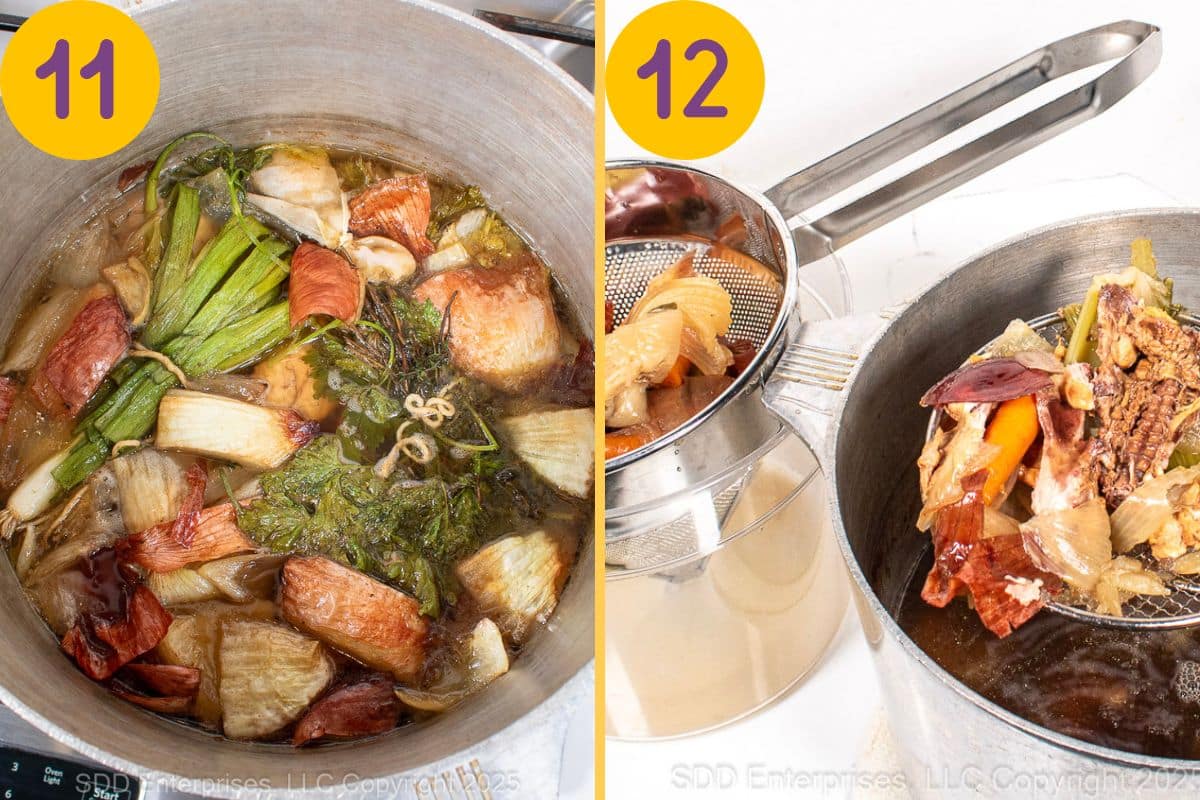
- With the stockpot uncovered, maintain a very low simmer for 3 to 4 hours without stirring the stock.
- Once the liquid has reduced by about half, remove the solids with a large slotted spoon to a strainer placed over a bowl. Discard the spent ingredients and strain the stock into a bowl.
Handling and Storage Tips
Handling, straining, and storing are almost as important as ingredients and method.
- First, remove all the solids with a slotted spoon or tongs and place them in a strainer set over a large bowl.
- Once the solids have drained, discard them.
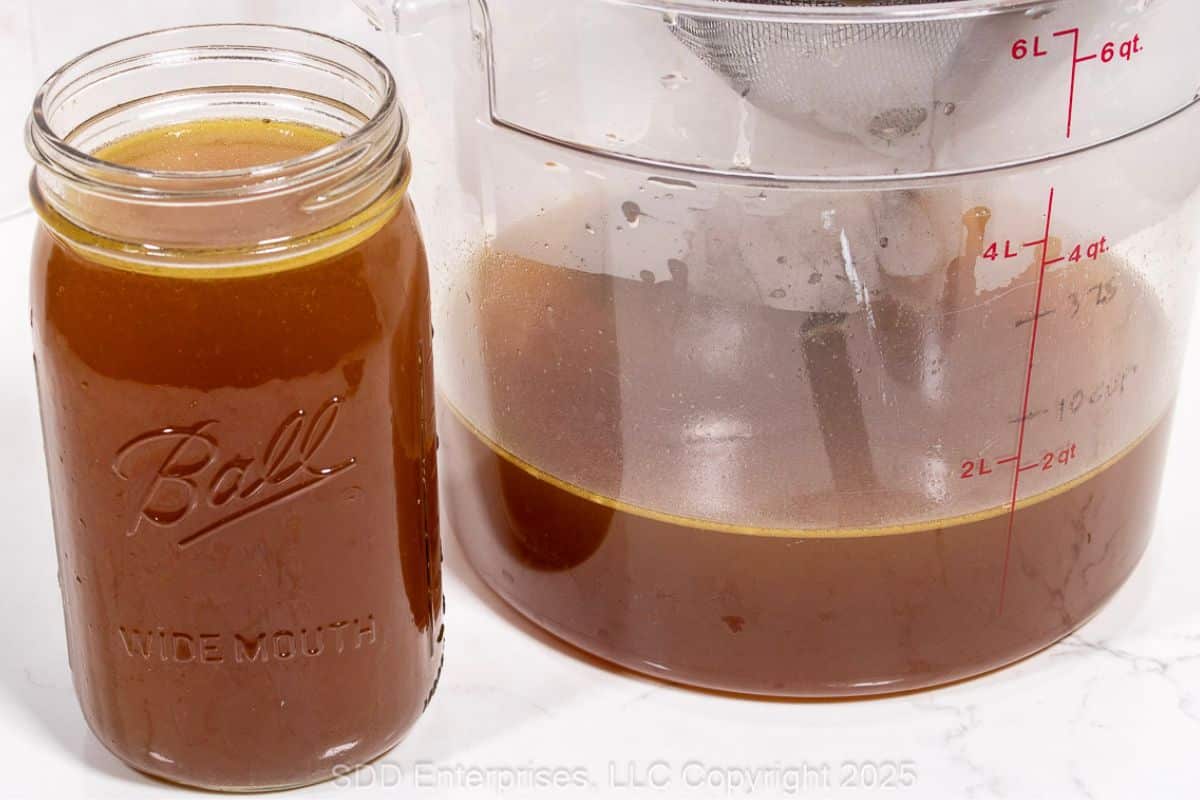
- Over that same bowl, place a fine-mesh strainer or cheesecloth-lined colander and slowly ladle or pour the stock through it.
- The stock should be clear enough for you, but if not, run it back through the strainer lined with a large coffee filter, damp paper towels, or damp cheesecloth.
- Once you have strained the stock into the bowl, chill it to solidify the fat for easy removal.
- The yield should be about 8 cups.
- Transfer the stock into airtight freezer containers, leaving ample room for expansion.
- Label the containers with the date before placing them in the freezer.
- I recommend freezing this stock in 1, 2, and 4 cup portions. This will make it easier to use the amount you need and minimize waste.
This stock will maintain its quality for up to 4 days in the refrigerator and 6 months in the freezer.
Tips for Using the Stock
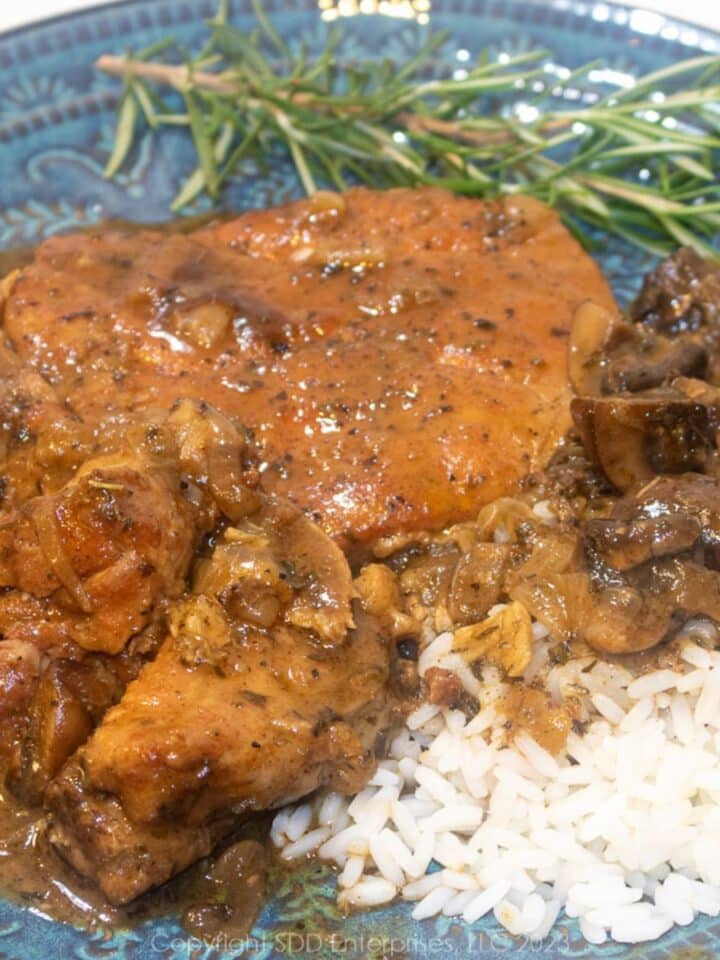
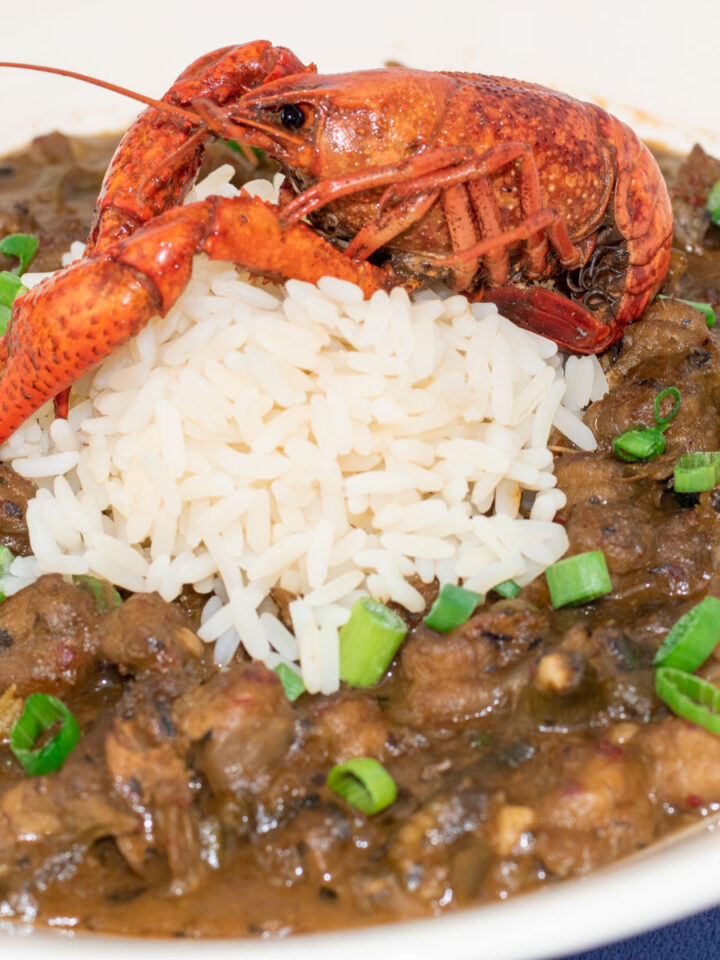
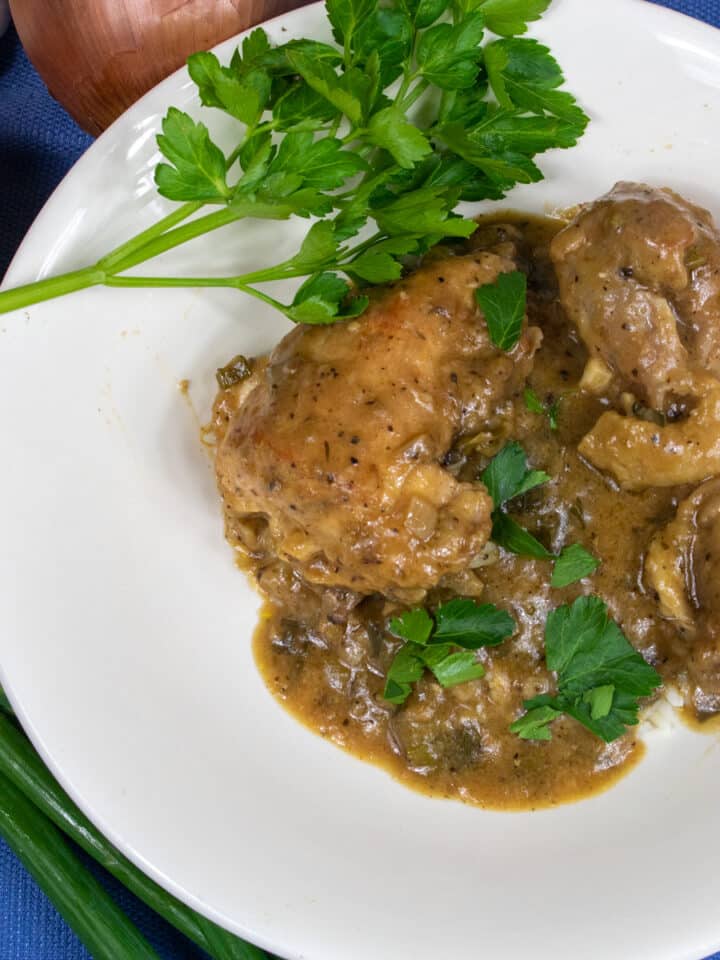
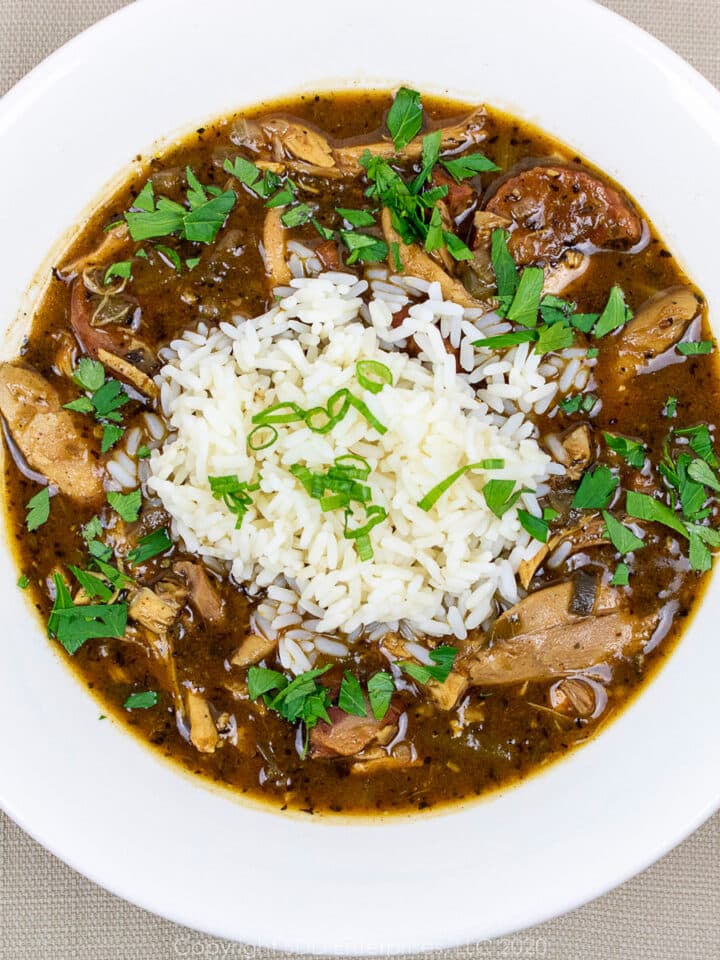
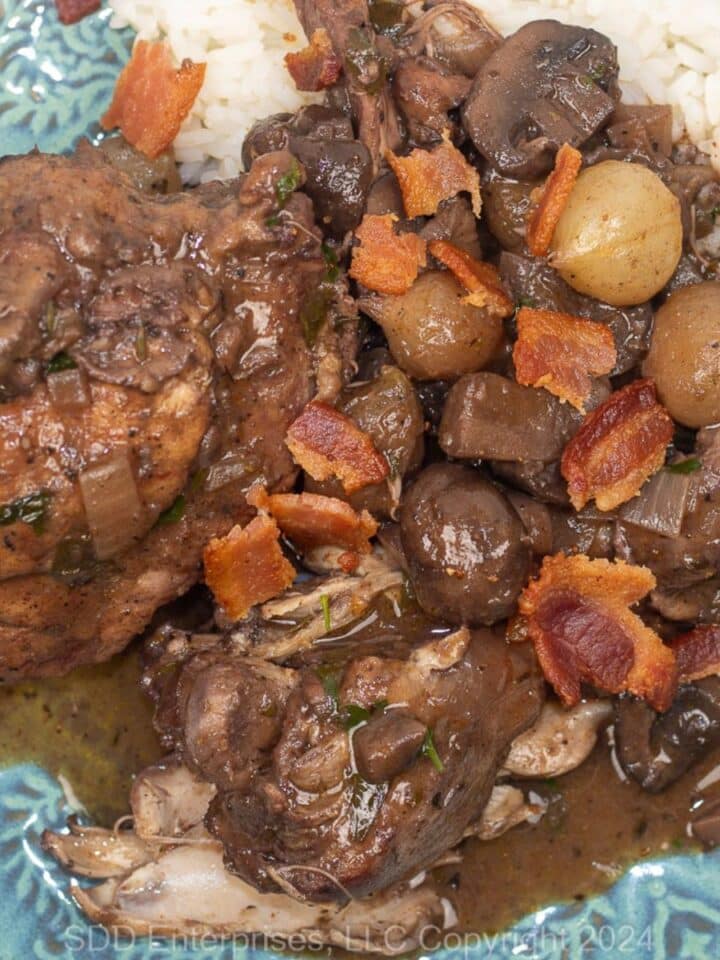
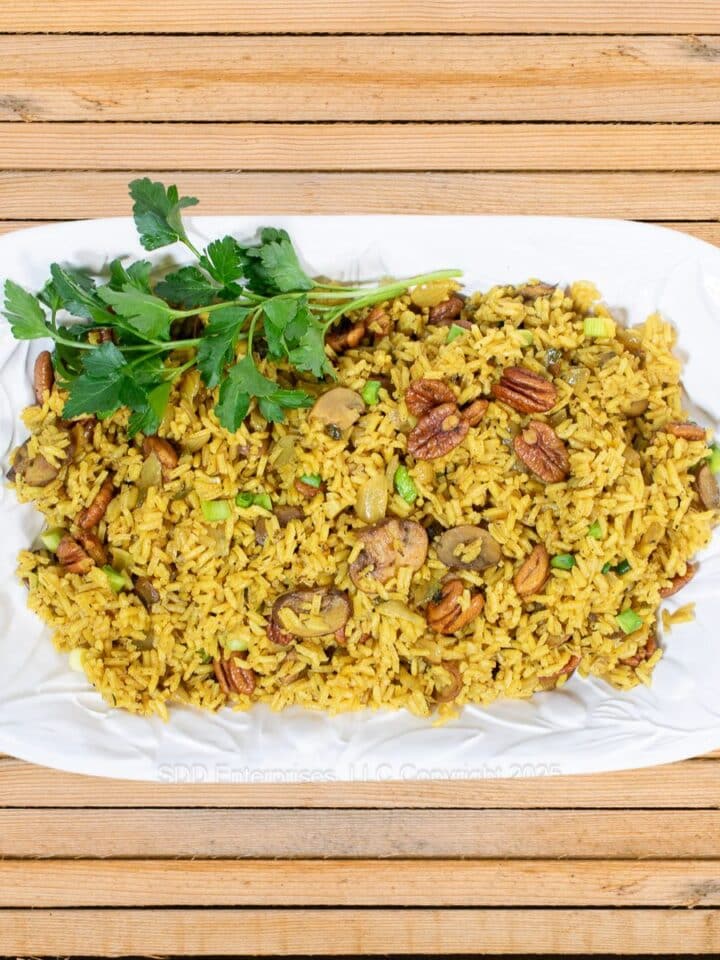
Your Homemade Chicken Stock is now ready to enhance your recipes! The uses are almost endless: soups, bisques, gumbos, stews, gravies, sauces, and braises. It's the perfect vehicle to cook grains like rice and risotto. If you are particularly proud of it, Homemade Chicken Stock makes a great gift.
Here are just a few of Sweet Daddy D's recipes that use Chicken Stock:


If you make this recipe:
- Tell us about it in the Comments section below
- LEAVE A RATING ON THE RECIPE-worthy of 5-Stars?
- Questions or Comments? that’s the place!
- SIGN UP FOR OUR EMAIL UPDATES so you don't miss anything!
- Post a picture and share it with your friends on our Social Media:
Yeah You Right!
Revision Notice: This recipe was originally published in May 2017. I am republishing it here with major improvements to the structure of the article for clarity and substantial improvements to the recipe for a better stock.
Recipe
Homemade Chicken Stock
Here's What You Need
- 2 pounds chicken parts cut up (See Notes)
- 1 large yellow onion quartered
- 4 stalks Celery with leaves
- 3 stalks carrots cut into 2-inch pieces
- 1 head garlic optional
- Giblets (less liver) optional
- 16 cups cold water
Herb Bundle (Any combination of these or your other favorite herbs)
- 2 sprigs fresh thyme
- 2 sprigs fresh marjoram
- 1 bunch green onions
- 6 stalks parsley
Garni Bag
- 10 black pepper corns
- 2 bay leaves
Here's What You Do
- Pat the chicken pieces dry with a paper towel.
- Preheat oven to 425 degrees Fahrenheit. Pat chicken parts dry with a paper towel and arrange them on a roasting pan prepared with nonstick spray.
- Cut the onions, celery, and carrots into equal-sized pieces. Tie the fresh herbs, parsley, and green onions into one or two bouquet garni. Place the peppercorns and bay leaves in a garni-bag (spice bag) or wrap them in cheesecloth; set all aside.
- Roast the chicken pieces in the oven for 15 minutes, then turn the pieces over, making sure to coat each piece in the rendering fat. Return the roasting pan to the oven for another 10 minutes.
- Remove the chicken from the roasting pan, then add the chopped vegetables (onions, celery, and carrots). Stir to coat the vegetables in the rendered fat. Return the chicken to the pan and place it back in the oven. Roast for 20 minutes, until the chicken and the vegetables are beginning to brown. Stir occasionally.
- To a large stockpot, add the roasted chicken and vegetables. If there is excessive fat in the roasting pan, discard it, but leave the browned bits on the bottom. Deglaze the roasting pan with cold water or dry white wine. Add the deglazing liquid to the stockpot. Add the bouquet garni and the garni bag.
- Pour 16 cups of cold water into the stockpot. Push everything down gently with your cooking spoon.
- Set the heat to high and bring the stockpot to just under a boil. Immediately adjust the heat so that the water maintains the slightest of simmers. Maintain this low simmer for three to four hours without stirring the pot.
- After about 20 minutes of simmering, skim and discard any foam that develops on the surface. Repeat as necessary, but the development of these impurities usually subsides in the first 30 minutes.
- Continue to simmer with the lid off or partially open.
- When finished, remove everything with a large slotted spoon and strain the stock through a strainer into a bowl. Set the cooled stock in the fridge to solidify any fat on the surface. Discard the fat. This should yield 8 cups of stock.
- Pour the stock into freezer-safe container.
Recipe Notes
Nutrition Estimate

It's Me!
Louisiana is a wonderful place where the rich cultural heritage enriches and entertains. I'm Dave Howson, aka Sweet Daddy D. I'm glad you found my website and I look forward to exploring the cultural mosaic of Louisiana with you…
read the "It's Me" page to find out more about me and this website…
Sweet Daddy D says
A rich and flavorful recipe!